SLA vs SLS: Which 3D Printing Process Is Right for You?
You've got the CAD locked, the review notes are closed, and someone on the team asks the question that decides whether this prototype helps or wastes a week: SLA or SLS?
That choice looks simple until the first part arrives. A housing that looked perfect in renderings snaps during assembly. A functional bracket passes fit but needs extra finishing to look presentable. A short prototype run that seemed cheap on machine price gets expensive once support removal, washing, curing, and cleanup are counted. In practice, the actual SLA vs SLS decision isn't just about print quality. It's about what the part must prove, how fast the team needs feedback, and what the total cost of ownership looks like once post-processing enters the picture.
Engineers usually don't need a generic pros-and-cons list. They need a way to match process capability to part intent. If you're still deciding where additive fits in your broader rapid prototyping workflow, start there. If you already know the part will be printed, this guide will help you choose the process that gets you a usable part faster, with fewer surprises.
Table of Contents
- Choosing Your Prototype Technology
- How SLA and SLS Printing Work
SLA in practical terms
SLS in practical terms
Why the mechanism changes the outcome
Detailed Comparison of Key Attributes- A quick side by side table
- Dimensional accuracy and tolerance control
- Surface finish and cosmetic quality
- Materials and mechanical behavior
Analyzing Cost Speed and Post-Processing- Where teams misread cost
Design for Manufacturing DFM Guidelines- SLA design habits that prevent rework
Real-World Use Cases and Applications- Where SLA is the right tool
Making the Right Choice with FIRMFG
Choosing Your Prototype Technology
The first question isn't which process is better. It's what this prototype has to validate.
If the part needs to prove visual quality, tiny features, optical clarity, or a precision fit, SLA usually moves to the front of the line. If the part needs to survive handling, assembly, repeated use, or mechanical loading, SLS is often the safer engineering decision. Both are polymer additive processes, but they solve different problems well.
A useful way to decide is to rank the prototype by purpose:
- Fit-first parts. Think mating covers, internal carriers, lens seats, dental models, or fine-detail interface parts.
- Function-first parts. Think brackets, clips, ducting, housings under stress, jigs, fixtures, and test hardware.
- Presentation-first parts. Think stakeholder reviews, cosmetic checks, or customer-facing mockups.
- Iteration-first parts. Think R&D loops where several versions may be built and handled quickly.
That ranking matters because the failure modes differ. With SLA, the common mistake is choosing it for a part that will see real abuse. The geometry may be right, but the material behavior may not reflect a production thermoplastic closely enough. With SLS, the common mistake is expecting an as-printed cosmetic surface that's ready for a polished design review.
Practical rule: Choose the process based on the test, not the CAD model. The same geometry may belong in SLA for an appearance review and in SLS for functional testing.
Another point that often gets missed: the “best” first prototype is not always the prettiest one. It's the one that answers the most expensive unanswered question. If that question is tolerance stack-up, SLA earns attention. If it's snap behavior, durability, or handling risk, SLS is usually the better use of budget.
How SLA and SLS Printing Work
The difference starts with the raw material. SLA uses liquid photopolymer resin. SLS uses powdered thermoplastic. That one distinction drives most of the trade-offs designers care about later.

If you're comparing suppliers or capabilities, a dedicated 3D printing service overview helps frame where each process sits in a broader manufacturing workflow.
SLA in practical terms
SLA works by directing a UV laser into a vat of liquid resin. The laser cures selected areas layer by layer until the part is built. The process is precise because the machine is hardening a controlled path of resin rather than fusing loose powder.
That's why SLA can produce very fine detail and a smooth surface. It's a good mental model to think of it as drawing each layer with light on a liquid surface, then repeating that pattern until the full geometry exists.
The part doesn't come out ready to use. Resin must be cleaned off, supports have to be removed, and the part is typically post-cured under UV to reach final properties. Those downstream steps are not optional. They're part of the process.
SLS in practical terms
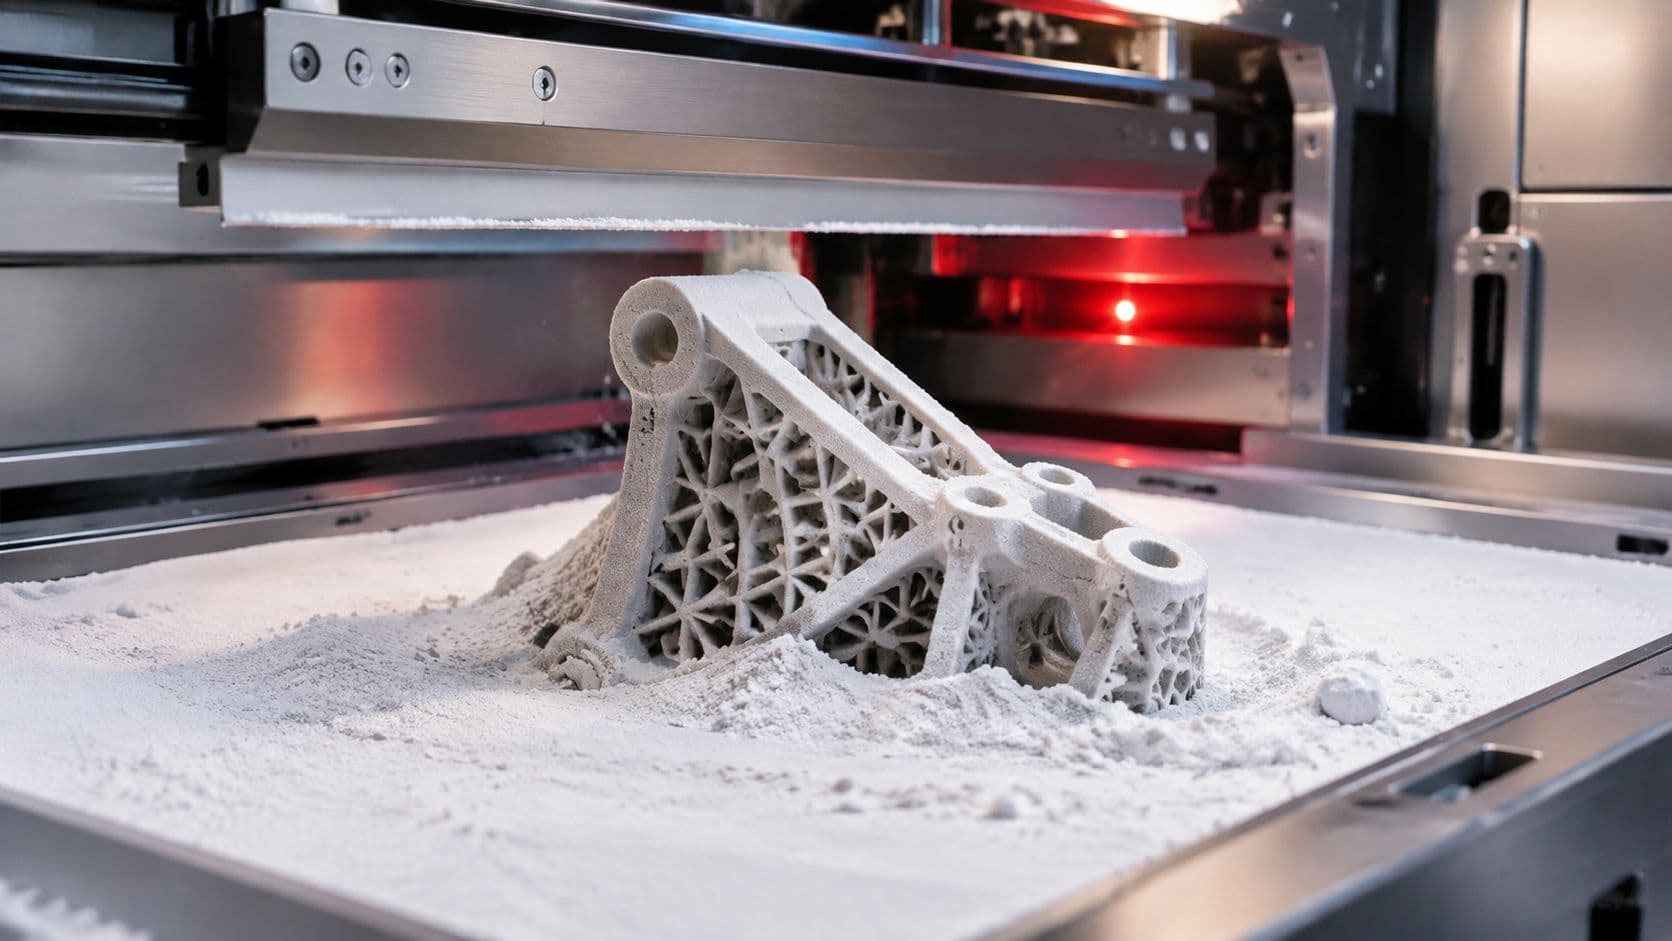
SLS spreads a thin layer of thermoplastic powder across the build area. A laser then sinters the powder only where the part should exist. Another powder layer is spread, and the cycle repeats.
Think of it as fusing shapes inside a packed bed of very fine sand, except the “sand” is engineering plastic powder. The unused powder supports the geometry during the build, so the process doesn't need dedicated support structures in the way SLA does.
That support-free behavior changes design freedom. Internal passages, nested parts, and complex shapes become easier to print because the surrounding powder holds the part in place during the build. After printing, the build cools, the part is excavated from the powder, and the remaining powder is cleaned away.
The process physics explain the economics. SLA spends more effort stabilizing and finishing individual parts. SLS spends more effort in batch handling, but gains freedom from support removal.
Why the mechanism changes the outcome
Because SLA cures resin, it favors detail, edge sharpness, and cosmetic quality. Because SLS fuses thermoplastic powder, it favors functional strength and geometry that would be awkward to support manually.
This isn't academic. It affects orientation strategy, finishing time, feature survival, and how closely the printed part reflects a final production-use plastic component.
Detailed Comparison of Key Attributes

A quick side by side table
| Attribute | SLA | SLS |
|---|---|---|
| Best use | Visual prototypes, fine-detail parts, precision-fit validation | Functional prototypes, end-use parts, bridge manufacturing |
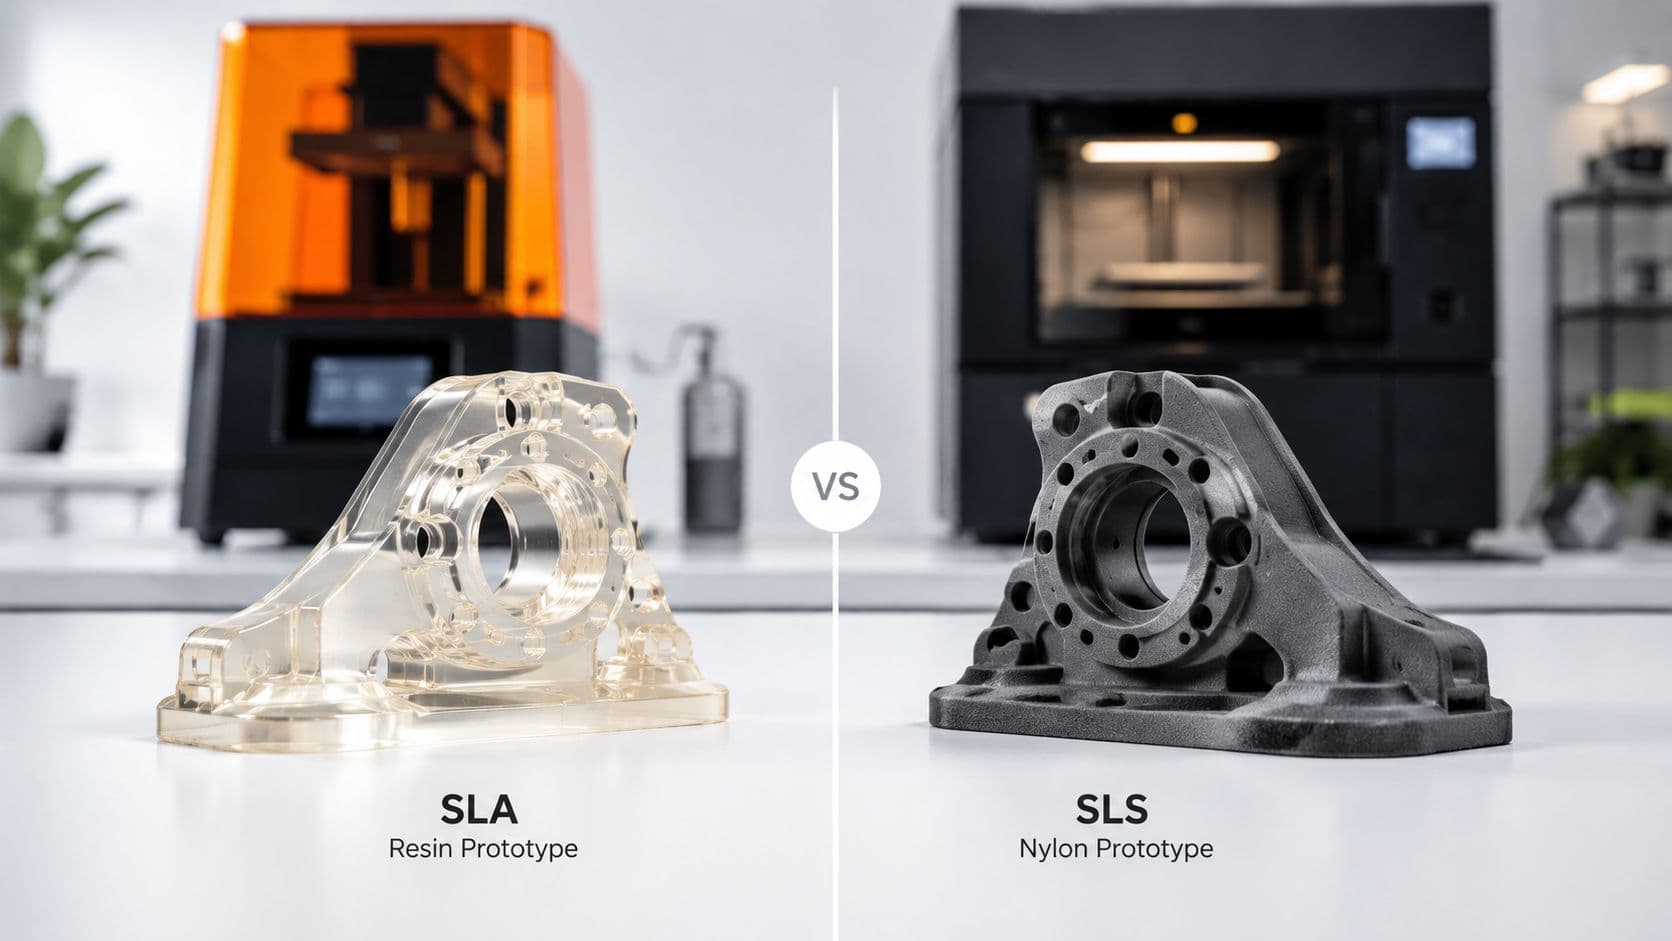
| Surface finish | Smooth, presentation-friendly, often closer to molded appearance | Matte and slightly grainy, often needs finishing for cosmetic targets |
| Fine features | Strong advantage for small details and crisp geometry | Good, but not the first choice for extremely fine visual detail |
| Supports | Required for many geometries and must be removed | No dedicated supports required |
| Mechanical feel | Strong but more brittle | Tougher functional thermoplastics with better durability |
| Batch efficiency | Good for low-count detail parts | Strong advantage for nested multi-part builds |
Dimensional accuracy and tolerance control
For parts where tolerance is the test, SLA has the clear edge. SLA excels in dimensional precision with a sub-0.1 mm capability, which is why it's widely used for medical device prototypes, optical assemblies, and microfluidic chips where fit directly affects function or sealing, according to this SLA accuracy comparison.
That matters when you're checking press fits, alignment features, small fluid paths, or cosmetic split lines that need to land where the CAD says they should. It also matters when a part is being used as a validation model for another process downstream.
SLS can still hold functional tolerances for many engineering parts. But if your acceptance criteria are driven by fine mating geometry or the need to reproduce very small features cleanly, SLA is the safer choice.
Surface finish and cosmetic quality
This is usually the first difference non-engineers notice. SLA parts come off the machine with a smoother visual texture and often look closer to a molded sample. That makes them much easier to use in executive reviews, industrial design evaluations, and applications where transparency or a refined surface matters.
SLS parts are different. The standard finish is matte and slightly rough because the surface reflects the powder-based build process. For functional parts, that's often acceptable. For consumer-facing models, it often isn't.
If the team plans to paint, polish, or otherwise finish the part, the decision gets more nuanced. SLA may save time on the front end because the surface starts smoother, but support contact areas can still create witness marks that need cleanup. SLS avoids support scars entirely, but its overall texture may require broader finishing work to hit a cosmetic target.
Engineering note: Don't confuse “good-looking” with “low-effort.” A smooth SLA surface can still hide substantial labor in support removal and cleanup.
Materials and mechanical behavior
Many prototype programs go wrong; they choose by appearance, then test by function.
SLS produces mechanically isotropic parts from thermoplastic powders, primarily Nylon PA12, with superior abrasion resistance and gradual deformation before fracture. That makes it better suited to functional prototypes and end-use components. SLA uses UV-cured photopolymer resins that offer smooth surfaces, translucent options, and fine detail including 0.1 mm embossed features, 0.15 mm engraved features, and 0.2 mm walls, but the parts are generally strong yet brittle and can fail more suddenly, as summarized in this technical comparison of SLA and SLS materials.
In practical terms:
- Choose SLA when the part must show detail, transparency, edge fidelity, or exact cosmetic geometry.
- Choose SLS when the part must flex slightly, tolerate wear, survive handling, or behave more like a production thermoplastic component.
A snap-fit enclosure is a good example. An SLA version may be useful for a first visual review or a fit check around electronics. If the team starts cycling clips and expecting the part to behave like a durable nylon component, SLS becomes the more realistic choice.
Analyzing Cost Speed and Post-Processing
The machine rate is only part of the bill. The actual cost question is what the team must do after printing to turn a raw build into a usable part.

If your part also needs cosmetic or functional cleanup after printing, the finishing path matters as much as the print path. That's why teams sourcing additive parts should evaluate available surface finishing options before comparing quotes.
Where teams misread cost
SLA often looks attractive early because the hardware and entry path can be simpler for low part counts. The trap is assuming the print price equals the delivered part cost.
SLA requires washing, curing, and support removal. That workflow is labor-heavy in a way many cost calculators don't show clearly. According to this engineer-focused post-processing analysis, SLA post-processing can add 30–60% more labor time per part compared to SLS, which can significantly inflate cost per part for runs under 50 units.
That labor hit matters most in product development teams, not just production. A design group waiting on cleaned, cured, support-free parts is still burning schedule.
When SLS overtakes SLA economically
SLS usually carries higher machine operating cost. Industrial SLS machine operating costs range from $100–200 per hour, while SLA ranges from $50–100 per hour, based on this SLS versus SLA cost overview. But that's not the end of the story.
SLS becomes economically superior at volumes exceeding 40 parts/month, and it's particularly effective for pilot runs of 50–200 items because parts can be nested densely in three dimensions without support structures, reducing labor and improving per-unit economics. The same source notes SLS equipment can range from $10,000 to $650,000, depending on system capability.
The practical takeaway is simple. If you're ordering a handful of highly detailed concept parts, SLA may still be the cheaper path overall. If you're building repeated functional iterations or a small batch of working parts, SLS often catches up and then pulls ahead because it wastes less technician time.
A practical costing lens for prototype teams
When I review additive quotes, I break cost into four buckets:
- Build costThe machine time and material consumed to create the raw part.
- Touch laborEvery minute spent washing, curing, depowdering, blasting, trimming, and removing supports.
- Yield riskFeatures that are likely to break in cleanup, warp, trap media, or require a remake.
- Program delayThe cost of waiting for a technically finished part instead of a merely printed one.
For SLA, bucket two is often the hidden problem. For SLS, bucket one may look higher until nesting and reduced touch labor are considered. Once a team starts running multiple copies, assembly checks, or repeated design variants, SLS frequently becomes the more stable economic choice.
A cheap print with expensive cleanup isn't cheap. It's only a deferred cost.
Design for Manufacturing DFM Guidelines
Good additive results start in CAD. Both processes reward designers who account for orientation, drainage, cleanup access, and how the material will behave after printing.
SLA design habits that prevent rework
SLA rewards careful geometry planning, but it punishes designs that ignore resin handling.
- Manage supports intentionally. Put critical cosmetic faces and precision interfaces where support contact can be minimized. If a face must look clean, don't let it become the support side by accident.
- Design for resin escape. Hollow models need drainage paths so resin doesn't get trapped. Trapped resin creates cleanup problems and can hurt final part quality.
- Respect brittle behavior. Thin tabs, fine hooks, and sharp unsupported details may print beautifully and still fail in handling. If the part will be touched repeatedly, don't design right to the visual limit.
- Use SLA for the right validation task. It's excellent for visual prototypes, dental parts, and precision-fit checks. It's a poor substitute for a rugged thermoplastic test article when repeated loading is expected.
SLS design habits that improve yield
SLS gives more geometric freedom, but freedom doesn't remove responsibility.
- Avoid large unmanaged flat spans. Broad flat faces can be more sensitive to thermal effects. Breaking up mass or adding stiffness strategically can improve print stability.
- Keep powder removal in mind. Internal channels and enclosed volumes are possible, but they still need to be clearable. If powder can't be removed reliably, that elegant internal geometry becomes a production headache.
- Use support-free design to your advantage. Interlocking shapes, nested builds, and complex duct paths are where SLS starts to justify itself.
- Design like it's a functional polymer part. Living interfaces, clips, and handling surfaces are more realistic candidates here than in SLA.
Shop-floor advice: The right DFM question isn't “Can this print?” It's “Can this print, clean, and survive the test without heroics?”
Material stability matters more than teams expect
For regulated or high-reliability work, long-term behavior matters. That's especially true in medical and automotive environments where a prototype may be stored, revisited, or used for repeated verification.
According to this material stability comparison for additive polymers, SLA parts may experience up to 20% loss in tensile strength after 6 months in ambient conditions, whereas SLS parts like PA12 retain more than 90%. For engineers working under ISO 13485 or IATF 16949 expectations, that difference changes process selection quickly.
If the part only needs to look right today, SLA may still be perfect. If the part needs to behave consistently over time, especially in a controlled validation workflow, SLS deserves stronger consideration.
Real-World Use Cases and Applications
The easiest way to choose between SLA and SLS is to picture the part on a bench and ask what the team will do with it next.
Where SLA is the right tool
A consumer electronics team is reviewing a new enclosure. They care about seam alignment, button feel, light pipe appearance, and whether the product looks credible in stakeholder photos. That part belongs in SLA first.
Other strong fits include:
- Precision-fit validation parts where tight mating relationships matter more than mechanical abuse
- Optical and translucent components where clarity or surface quality affects what the team can evaluate
- Dental and medical visual models that benefit from fine detail and clean surfaces
- Microfluidic or fine-feature designs where small channels and precise geometry carry the value
In each of those cases, the main question is shape fidelity, finish, or feature resolution.
Where SLS is the better engineering choice
Now take a robotics team testing a cable guide, housing, and bracket set. The parts need to be assembled, handled repeatedly, mounted to hardware, and exposed to vibration or shop-floor abuse. Cosmetic quality matters, but survival matters more. That job belongs in SLS.
SLS also fits well for:
- Snap-fit enclosures and mechanical assemblies
- Ducting and airflow parts with complex internal geometry
- Jigs and fixtures that operators will use
- Low-volume bridge parts when the team needs several functional units before committing to tooling
A common pattern in product development is to use both. SLA handles the appearance model and fit-critical visual checks. SLS handles the mechanical validation set. That's often the fastest route because each process is solving the problem it's best at.
Use SLA to answer “Does it look and fit right?” Use SLS to answer “Will it work like a real part?”
Making the Right Choice with FIRMFG
The shortest decision framework is this:
If your part must deliver fine detail, smooth surfaces, and precision-fit validation, start with SLA. If your part must deliver durability, support-free complexity, and realistic functional behavior, start with SLS.
That's the engineering answer. The purchasing answer is slightly different. You also need to know what the delivered part will cost after cleanup, what finishing steps are still required, and whether the chosen process matches the actual test plan. That's where experienced quoting and DFM feedback save time.

For teams that don't want to guess, FIRMFG gives you a practical path. You can upload a CAD file, compare process options, review lead times, and get manufacturing feedback before you lock into the wrong route. That matters when the part is moving from concept into NPI and the prototype now needs to prove something specific, not just exist.
The most efficient prototype program usually isn't loyal to one process. It picks the cheapest method that answers the right question with enough confidence. Sometimes that's SLA. Sometimes it's SLS. The mistake is treating them as interchangeable.
If you're weighing SLA vs SLS for a new part, FIRMFG can help you compare the right process before you commit budget or lose time in rework. Upload your CAD, review quoting options, and get manufacturing guidance that matches the part's real job, whether you need a single precision prototype or a low-to-mid volume production run.