CNC vs 3D Printing: Engineer's Decision Guide for 2026
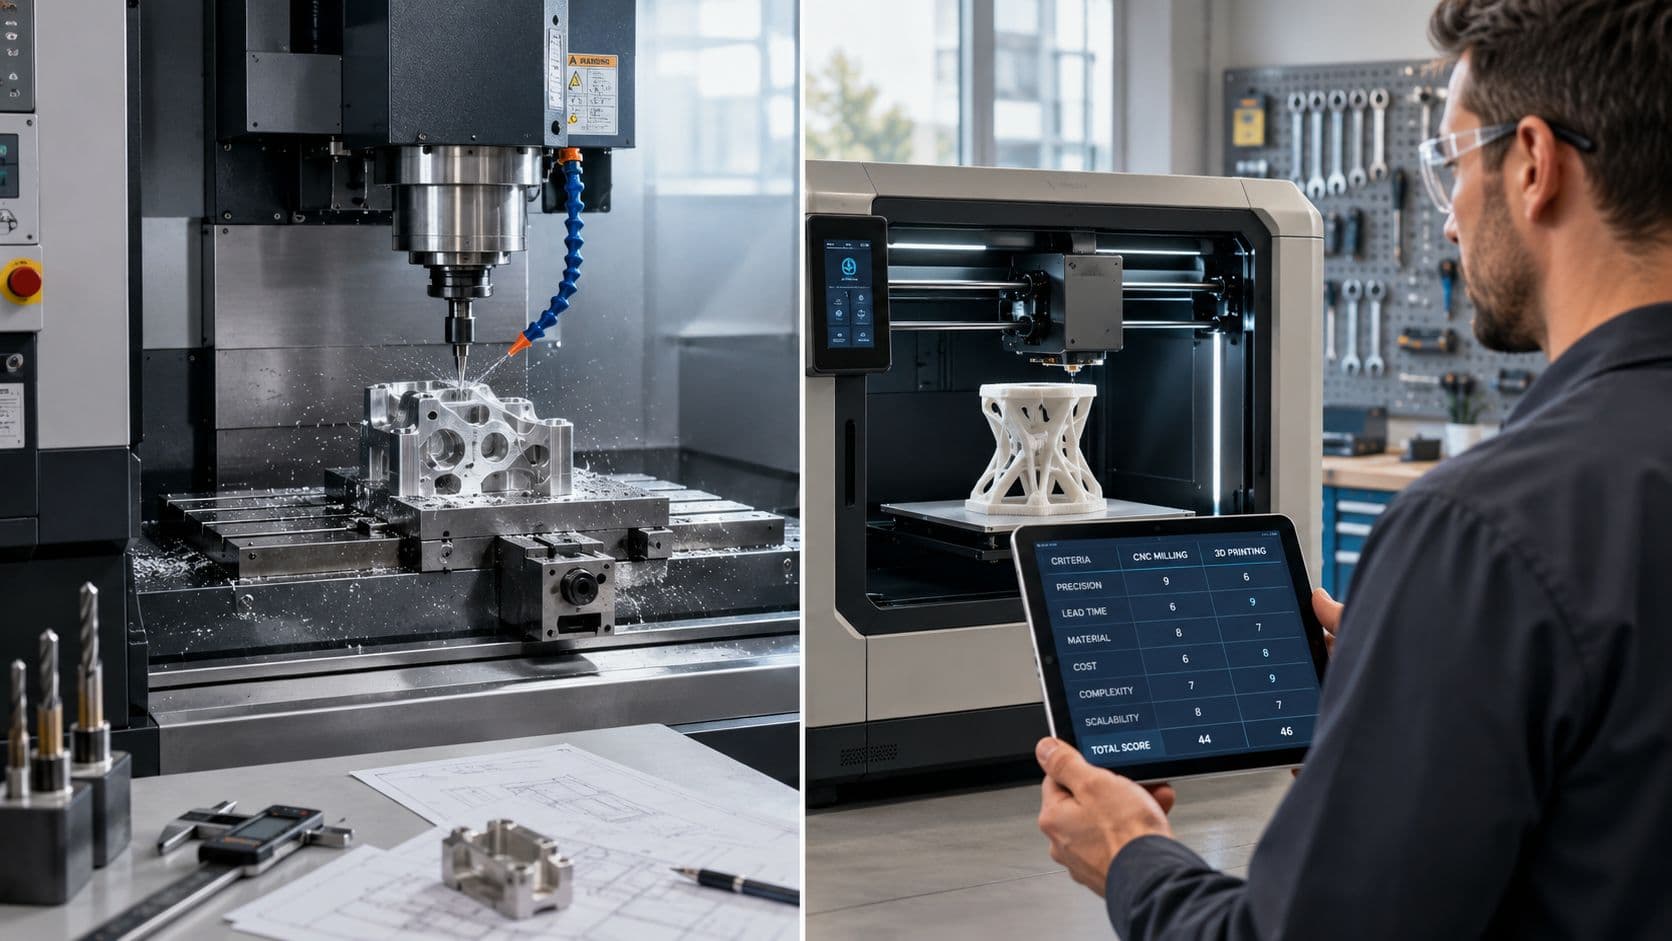
The worst advice about CNC vs 3D printing is still the most common one, print it if it's cheaper, machine it if it's stronger. That shortcut ignores the parts that usually decide whether a job succeeds in production, inspection burden, post-processing, tolerance risk, and whether the part is acceptable at the end of the route. In real sourcing work, the cheapest-looking quote often stops being the cheapest once someone has to ream a hole, sand a surface, chase fit issues, or scrap a part that missed spec.
| Decision factor | CNC machining | 3D printing |
|---|---|---|
| Best fit | Tight tolerances, strong load-bearing parts, repeatable features | Complex geometry, fast iteration, low setup effort |
| Accuracy | Typically much tighter, especially for precision interfaces | Wider tolerance band, process-dependent |
| Surface finish | Usually better straight off the machine | Usually needs more post-processing |
| Cost pattern | Higher setup, better as quantity rises | Lower setup, often better at very low volume |
The better question is not which process has the lower quote. It's which process produces the lowest total landed cost per acceptable part. That means counting the print or machine time, then adding the cost of finishing, inspection, rework, and the chance that the first article still won't assemble cleanly.
Table of Contents
- Why Most CNC vs 3D Printing Comparisons Miss the Point
Total landed cost beats unit price
The volume crossover is not a fixed number
Core Capabilities and Technical Specifications- Accuracy, finish, and material behavior
Economics: Unit Price versus Total Landed Cost- Where the crossover actually sits
Design for Manufacturing Optimizing Parts for Each Process- CNC design choices that reduce pain
Real-World Applications Where Each Process Excels- Where CNC is the safer call
Decision Framework Choosing the Right Process for Your Project- A fast way to choose
Working with Manufacturing Partners Getting Optimal Results
Why Most CNC vs 3D Printing Comparisons Miss the Point
Most comparisons stop at the quote sheet, then pretend that a part is done when the machine stops. That's not how manufacturing works. A part doesn't earn approval until it passes inspection, fits the assembly, survives the intended load, and doesn't trigger avoidable secondary work.
The classic benchmark still matters here. Stratasys reported a representative part where 3D printing was 55% less expensive than CNC machining, but also took 77% longer to produce when both processes could start immediately and no labor, material, or machine delays were assumed, which is useful because it isolates the basic trade-off between additive and subtractive methods (Stratasys comparison). That same comparison matches what most shops see in practice. CNC usually wins on cycle time and throughput once production is underway, while 3D printing usually wins on setup effort and low-cost iteration.
Practical rule: If the part needs touch labor after it prints, the print price is only part of the bill.
Total landed cost beats unit price
Engineers get burned when they compare a printed part to a machined part on fabrication cost alone. A printed bracket that needs sanding, support removal, thread repair, and a second inspection can end up more expensive than a machined version that leaves the spindle ready for assembly. The difference is even sharper when the design has sealing faces, bearing bores, or cosmetic surfaces that cannot tolerate roughness or dimensional drift.
That's why I look at cost per acceptable part. Acceptable means the part meets the drawing, the surface is usable, and the assembly team doesn't have to “make it work.” If a vendor's process creates hidden work for quality or assembly, the actual cost is higher than the quote suggests.
The volume crossover is not a fixed number
The common crossover point sits in a low-to-mid volume band, not at the extreme ends. Industry guidance commonly places it around 20 to 50 parts, with some sources narrowing CNC's advantage to 25 to 50 units and others estimating 50 to 100 items depending on geometry, setup cost, and material (crossover guidance). That spread exists because part complexity, inspection load, and finishing all shift the break point.
For simple one-off prototypes, 3D printing can be the faster path to a usable check part. For pilot production, CNC often starts to look better once quality and repeatability matter more than raw build speed. The deciding factor is usually not technology preference, it's whether the part's cost structure gets dominated by setup or by downstream correction.
Core Capabilities and Technical Specifications
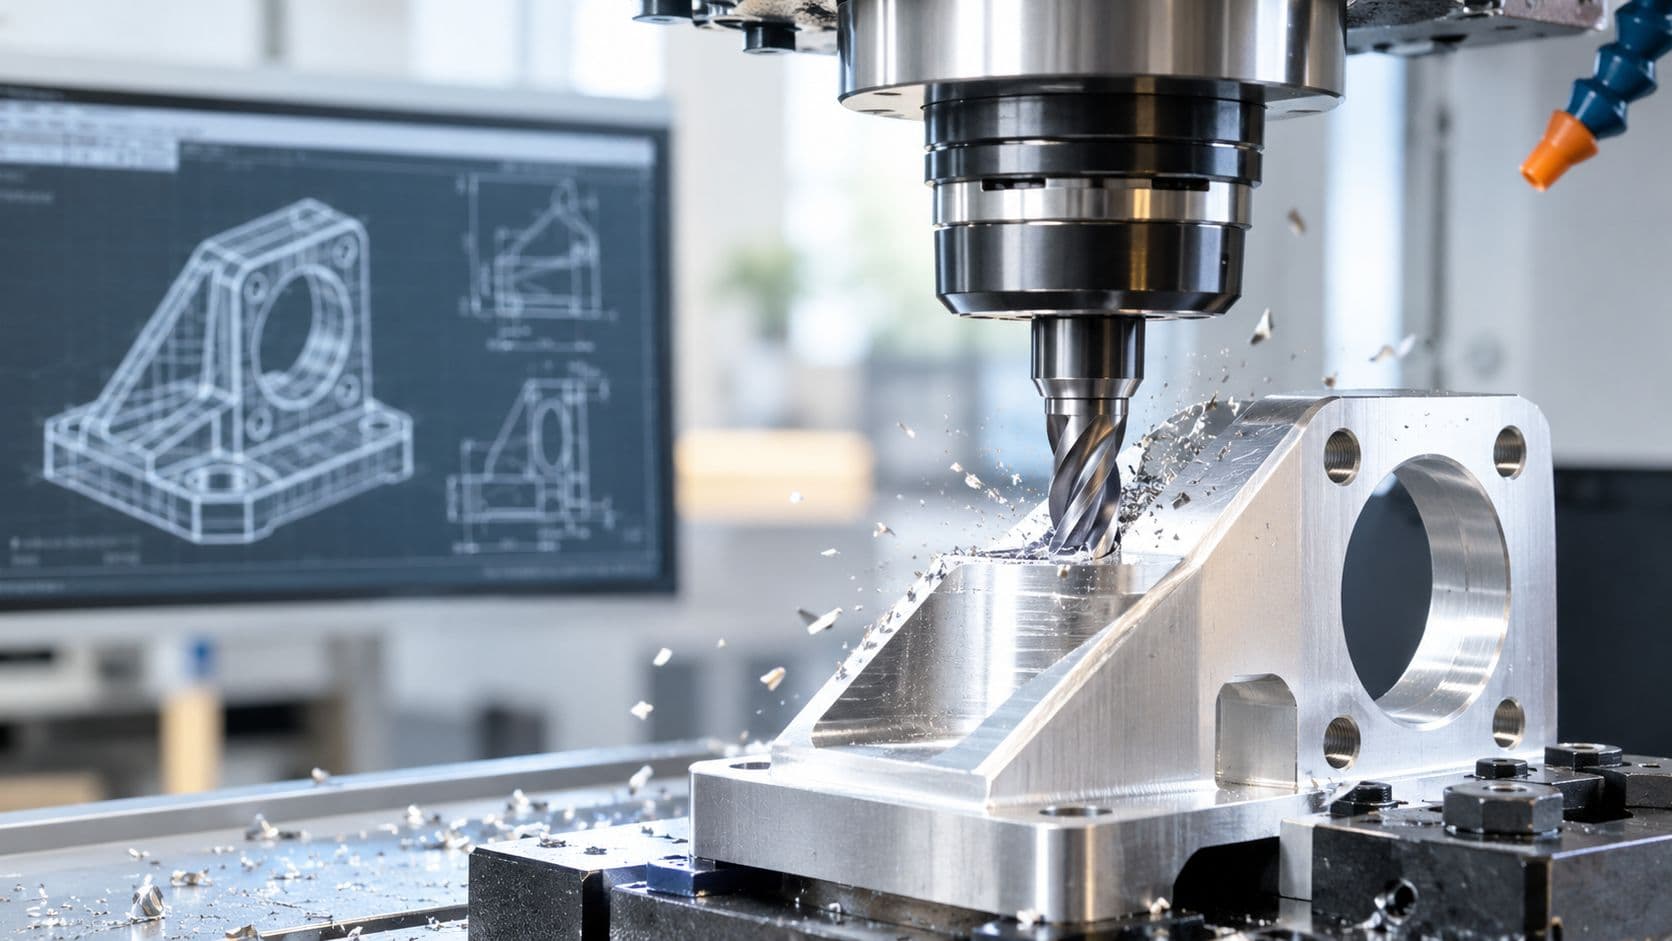
CNC and 3D printing solve different problems, even when the CAD file looks similar on screen. CNC removes material from a solid blank, so the process naturally favors tight geometry control, better surface finish, and strong parts made from stock metal or engineering plastic. 3D printing builds layer by layer, so it favors shape freedom, internal complexity, and fast starts.
Accuracy, finish, and material behavior
For precision work, CNC remains the safer default. One engineering comparison reports CNC tolerances at about ±0.005 mm for precision machining, while 3D printing is typically around ±0.1 mm to ±0.5 mm depending on the process; another source gives routine CNC features at ±0.01 mm to ±0.05 mm versus SLA at roughly ±0.15 mm to ±0.25 mm and FDM at ±0.3 mm to ±0.5 mm (engineering tolerance comparison). That gap is why bearing bores, press fits, sealing faces, and other mating surfaces still go to machining first in serious hardware programs.
Strength follows a similar pattern. CNC parts are generally isotropic and can remain close to the native material's bulk strength, while printed parts can be anisotropic, with FDM parts sometimes showing a weaker Z axis or layer-bond direction (strength comparison). For load-bearing brackets, housings, and fastener interfaces, that orientation sensitivity matters more than most sales decks admit.
Geometry, surface, and process limits
CNC struggles when the cutter can't reach a feature cleanly. Deep pockets, sharp internal corners, and hidden undercuts increase cost fast. 3D printing handles those shapes better, but it brings support cleanup, layer texture, and more variability in surfaces that must be sealed or visually clean.
| Parameter | CNC Machining | 3D Printing (SLA/SLS) | 3D Printing (FDM) |
|---|---|---|---|
| Dimensional control | Tight, especially for precision fits | Moderate to good, process-dependent | Broadest tolerance window |
| Surface finish | Strong straight off machine | Better than FDM, often needs finishing | Layer lines are visible, finishing is common |
| Material profile | Metals and engineering plastics | Broad polymer options, some specialty systems | Common thermoplastics, lower-cost prototyping |
| Strength behavior | Close to base material | Depends on process and orientation | Most sensitive to layer direction |
| Geometry freedom | Limited by tool access | Strong for internal and organic forms | Strong for easy prototyping, weaker on finish |
The practical takeaway is simple. If the part must mate, seal, align, or carry load, CNC usually gives fewer surprises. If the part must prove shape, airflow, packaging, or layout, 3D printing usually gets there faster and with less setup friction.
Economics: Unit Price versus Total Landed Cost
A low print quote can look attractive until the part needs more work before anyone can use it. The better comparison is not machine time versus machine time. It is setup, finishing, inspection, and risk against the same cost stack on the other process.

Where the crossover actually sits
Industry guides often place the break-even point around 20 to 50 parts, while some sources narrow CNC's advantage to 25 to 50 units and others push it toward 50 to 100 items depending on geometry, setup cost, and material. That spread is real, because the cost curve is not driven by machine time alone. CNC carries more up-front setup, then spreads that burden across the run. 3D printing has little setup, but its per-part economics do not improve as sharply with volume.
For one-off prototypes, 3D printing often wins because it gets a shape in hand with minimal overhead. For functional testing and pilot production, the math changes once assemblies start failing on fit or surface quality. At that point, the question is no longer just whether the part exists, it is whether it can be accepted without extra labor.
The hidden costs that flip the answer
The missed line items are where sourcing teams lose money. Post-processing can include support removal, sanding, bead blasting, tapping, thread repair, and surface finishing. Inspection can add coordinate checks, go/no-go gauges, first-article documentation, and extra metrology time when tolerances are narrow. Rework is the worst of all because it turns a short run into a schedule problem.
Practical rule: A cheaper process that creates more inspection is rarely the cheaper process.
The cleanest way to evaluate a quote is to ask for the landed cost of a part that passes inspection. If a printed component needs cosmetic finishing or secondary machining on critical faces, the bargain can disappear. If a machined component comes off the fixture already meeting the print, its higher setup cost may be offset by lower downstream labor.
For a deeper breakdown of machining pricing drivers, the CNC machining cost guide is a useful companion reference. It helps separate true setup cost from the rest of the quote, which is where many part numbers get misread.
Design for Manufacturing Optimizing Parts for Each Process
The best parts are designed for the process that will make them. That sounds obvious until a team sends the same geometry to both methods and expects equal results. The design that works in a slicer is often different from the design that works on a mill.

CNC design choices that reduce pain
CNC likes clear tool access, stable fixturing, and geometry that a cutter can reach. Sharp internal corners are expensive because end mills are round, so a small radius is easier to make and easier to inspect. Deep pockets and hidden features usually force more setups, which increases both cost and risk.
Design rule: If a feature can only be reached with a long tool, expect more chatter risk and slower cutting.
A few practical habits help immediately. Keep pocket depths sensible relative to cutter reach, avoid unnecessary fine detail on nonfunctional faces, and design mating features so they can be measured without heroic inspection setups. When a part is split into two machinable halves and reassembled, the added join may be cheaper than a complicated one-piece block with awkward access.
3D printing design choices that save time
Printed parts need a different mindset. Orientation changes strength, surface quality, and support load, so a model that looks elegant in CAD can become messy on the build plate. Overhangs, trapped supports, and thin walls often drive the need for cleanup that nobody budgeted for.
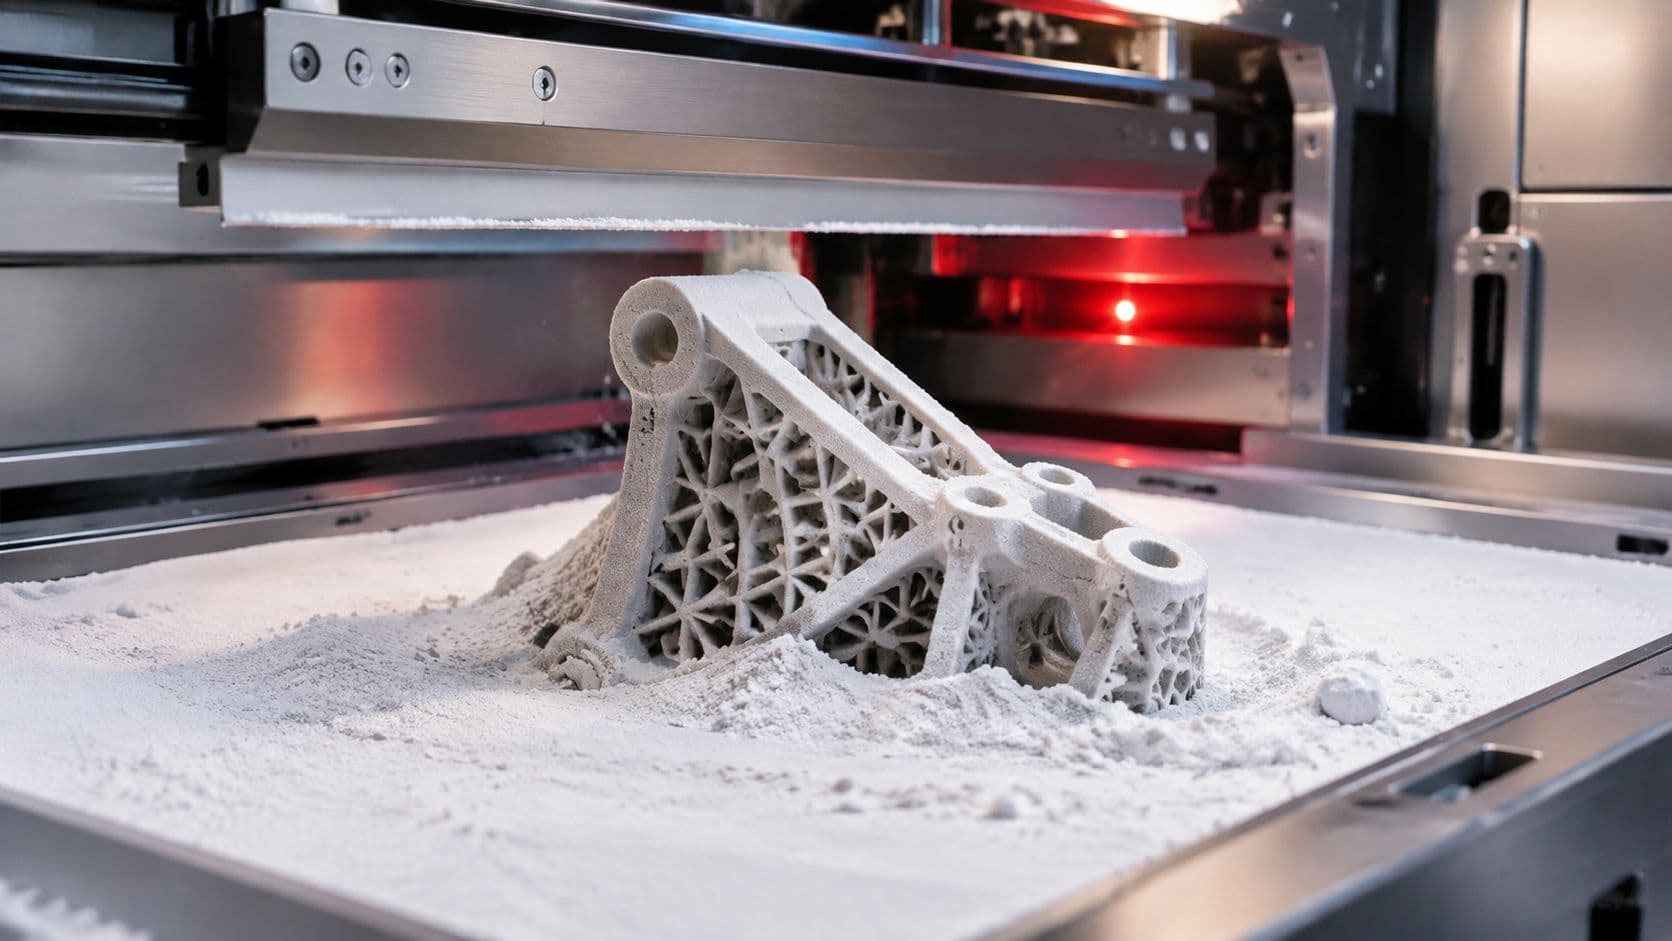
For 3D printing, the fastest wins usually come from reducing support contact, keeping walls uniform where possible, and using geometry that makes removal straightforward. Internal lattice structures can reduce material use and preserve stiffness where the design calls for it, but only if the part doesn't need tight internal inspection later. The same part may be excellent for a prototype and wrong for a release build.
The design for manufacturability guide is worth using as a design review checklist, especially when a team is preparing the same assembly for both prototyping and production. In practice, the biggest savings come from removing features that add cleanup without adding function. That's where manufacturing time drops, even before the part reaches the shop floor.
Real-World Applications Where Each Process Excels
I've seen CNC machining win when the part had to fit, seal, or survive abuse, and I've seen 3D printing win when the geometry was the point. The decision gets clearer when you look at how the part will behave in production, not how it looks in CAD review.
Where CNC is the safer call
Functional prototypes that carry load usually belong on a machine, especially when fastener torque, bearing seats, or alignment features matter. CNC also fits jigs and fixtures that need repeatable faces and stable hole location, because those parts get judged by how well they hold position under use, not by how quickly they were made.
In regulated environments, machinable stock plus documented inspection is often easier to defend than a printed part with more variable surface and structure. That difference shows up again when a program needs traceable dimensions, consistent material properties, and a straightforward inspection plan.
Metal housings, precision brackets, and mating hardware are strong CNC candidates because machining keeps the parent material behavior closer to what the design team expects. If the part has critical sealing faces or press-fit features, machining lowers the risk of tolerance drift and awkward rework. That matters more than the visual appeal of the prototype.
Where 3D printing earns its place
Complex internal channels, organic shapes, and components that would be difficult to machine are natural targets for additive manufacturing. Early packaging models, ergonomic mockups, and fast form studies also fit well because the geometry can be checked before anyone commits to a more exact process. When the main challenge is shape, 3D printing gets a usable answer in hand quickly.
Surface-sensitive aesthetic models are process-dependent. SLA can give a cleaner presentation than FDM, but anything that has to look finished in a customer review often still needs post-processing after printing. That means presentation parts should be scoped with finishing, sanding, or coating in mind from the start, not after the first sample arrives.
Where the crossover sits
The crossover is not just a unit-price question. Once inspection time, support removal, surface finishing, and tolerance risk are included, the point where printing becomes cheaper often shifts, especially for parts that need to look good and fit cleanly.
Low volumes do not automatically favor 3D printing, and higher volumes do not automatically favor CNC. A simple printed part with heavy cleanup can cost more in total effort than a machined part that comes off the machine ready to inspect. The opposite is true as well. A complex machined part with difficult tool access can burn time in setup and metrology that additive manufacturing avoids.
LC Proto offers both CNC machining and 3D printing alongside surface finishing and inspection, which makes it a practical option when a project needs a prototype route first and a production route later. That mix matters because the right process often changes as the design matures.
Decision Framework Choosing the Right Process for Your Project
Start with the constraint that will break the part first. If the answer is precision, strength, sealing, or repeatable fit, CNC is usually the first stop. If the answer is geometry complexity, fast iteration, or low setup effort, 3D printing usually gets you farther with less friction.

A fast way to choose
Use this sequence:
- Check tolerance first. If the part has critical mating features, bearing bores, press fits, or sealing faces, lean CNC.
- Check geometry second. If tool access is a major problem or the shape is highly internal, lean 3D printing.
- Check quantity next. Low volume often favors printing, but the crossover tends to move as quality demands rise (volume crossover guidance).
- Check surface and inspection needs. If finishing and metrology are heavy, CNC can become the cheaper complete answer.
- Check downstream assembly risk. If a failed fit stops the program, choose the process with tighter control.
Hybrid routes are often the quiet winner
A mixed approach can save a project when one process does part of the job better than the other. A team might print a complex body, then machine critical faces or bores. Another team might machine an insert or fixture feature and print the surrounding geometry. Those combinations reduce risk when one process alone would force too many compromises.
Practical rule: If only one or two features are critical, don't force the whole part into the most expensive process.
When the choice is still unclear, ask what failure costs more. If a bad dimension delays validation, choose precision. If a slow prototype blocks design review, choose speed. The best process is the one that gets the part accepted with the fewest hidden corrections.
Working with Manufacturing Partners Getting Optimal Results
The quote is only as good as the input. A clean CAD file, a clear drawing, and a short list of critical features will save more time than any back-and-forth after the order is placed. That matters in both CNC and additive work because ambiguity gets paid for one way or another.
When you send a request, specify the functional features first, then the finish requirements, then the inspection points. If a hole is a press fit, say so. If a face is cosmetic, say so. If a surface must be held to a defined roughness target, make that explicit instead of assuming the shop will infer it from the model.
For comparing service providers, don't stop at price. Ask what they inspect, how they document it, what finishing is included, and whether they can support both prototype and low-volume production in the same workflow. Some shops, including affordable 3D printing services providers, can keep setup friction low, but the true value still comes from how well they control the final part.
If you need a machining or additive partner that can handle prototypes, short runs, finishing, and inspection in one workflow, LC Proto is set up for that kind of sourcing. Send over the CAD, flag the critical fits and cosmetic surfaces, and compare the quote on total landed cost, not just the first number on the page.