Low Volume Injection Molding: Guide for Small Batches
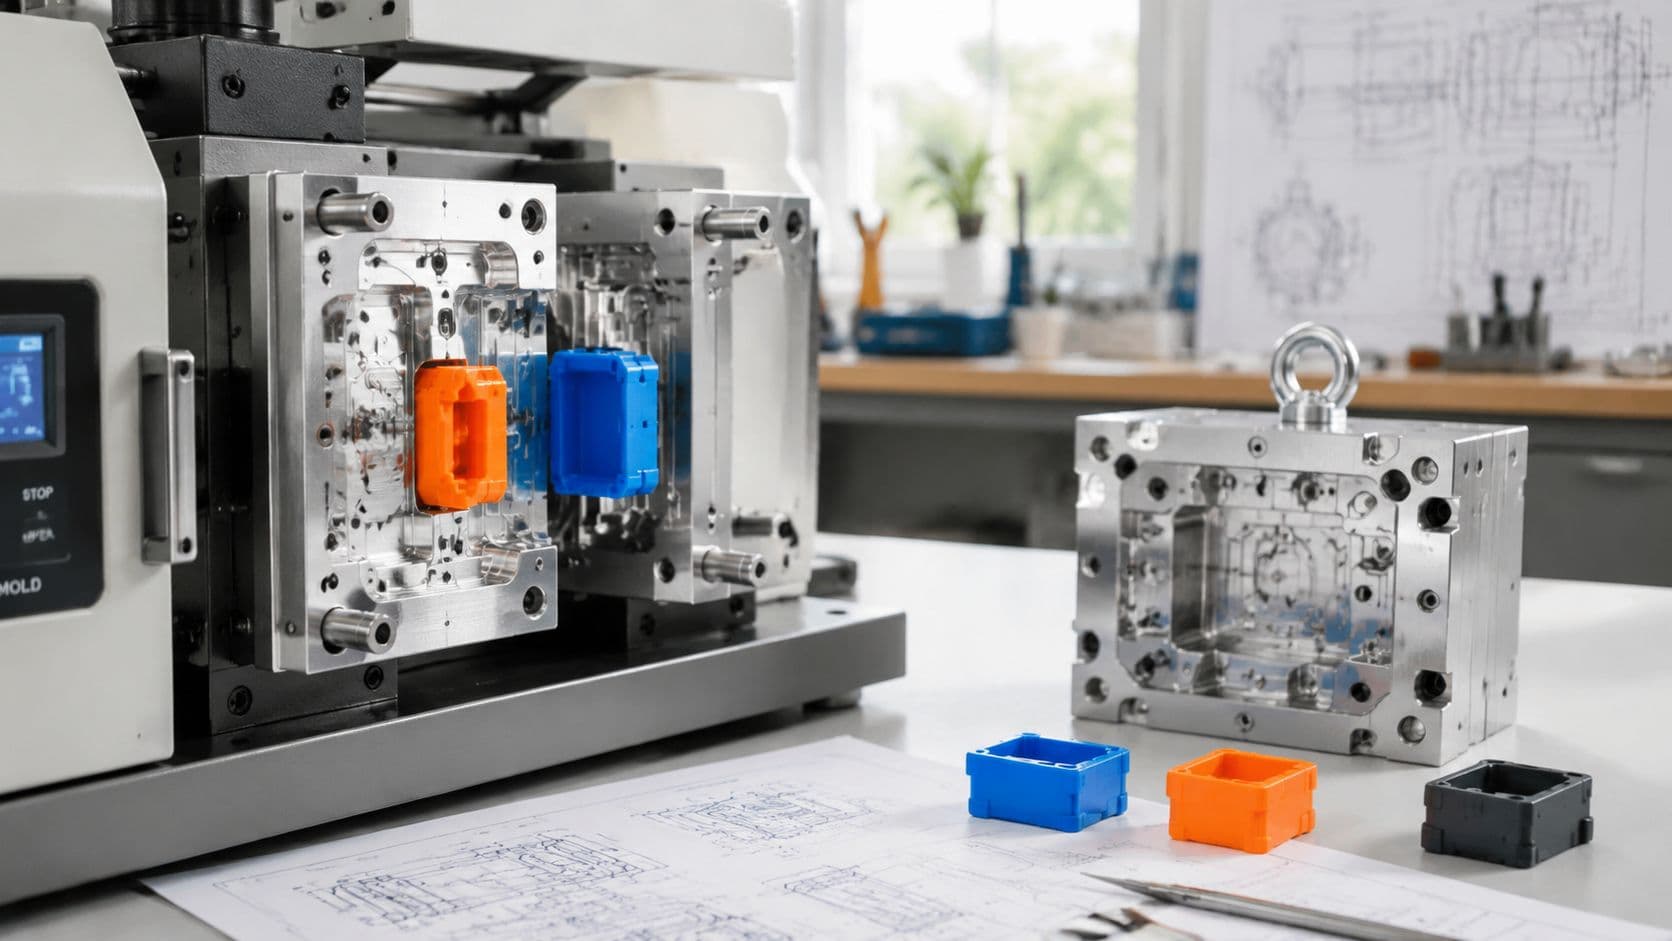
You're trying to get production-grade plastic parts into your hands fast, but the full tooling quote is hard to justify for a run that may never leave the launch phase. That's the exact gap low volume injection molding fills. It gives product teams a way to move from prototype intent to real molded parts without jumping straight into hardened-steel tooling or committing to mass-production economics.
For an engineer under pressure, the appeal is simple. You can validate fit, function, material behavior, and assembly with the same process family you'd use at scale, while keeping risk lower and iteration faster. The broader injection molding market was valued at USD 335.0 billion in 2025 and is projected to grow at a 5.8% CAGR through 2035 as reported by Fictiv, so this niche sits inside a very large manufacturing base, not on the fringe of it.
Table of Contents
- Introduction to Low Volume Injection Molding
- Understanding Key Concepts
Where the volume band really sits
Why engineers use this band
Comparing Tooling Options- Tooling choices and what they're good at
Material Selection for Low Volume Molding- Start with the part's job
Cost and Lead Time Models- Why tool cost dominates the first units
DFM Guidelines Tolerances and Quality Practices- Geometry rules that protect the tool
Comparing Alternatives and Choosing a Supplier- Where the alternatives fit
Introduction to Low Volume Injection Molding
A lot of teams hit the same wall. The CAD is stable, the market window is open, and somebody asks for 500 production-grade parts in weeks, not months. A prototype printer won't give you real molded behavior, and a hardened tool feels like overkill when the design may still change after the first customer feedback.
That's where low volume injection molding earns its place. It's not a one-off prototype process, and it's not full-scale mass production either. It sits in the middle, where the part count is high enough to justify real tooling, but low enough that you still care a lot about lead time, tooling material, and the ability to revise the part without eating a giant sunk cost.
The commercial logic is easy to miss if you only look at unit price. A short run often exists because the product is new, the demand is uncertain, or the team needs a bridge between validation and launch. In that situation, the winning move isn't always the cheapest part. It's the option that gets you functional molded pieces with the least delay and the least tooling risk.
Practical rule: if the parts must behave like final parts, but you're not ready to buy a tool meant for millions of cycles, low volume molding is usually the right conversation to have.
Low volume molding also fits modern manufacturing supply chains. Companies use it for pilot releases, regional launches, and engineering verification, because it lets them test the actual product before they lock in scale-up decisions. That's why the process has become a standard bridge between concept work and durable production planning.
Understanding Key Concepts

Where the volume band really sits
Low volume injection molding is typically used for about 100 to 10,000 parts, with pilot runs often in the 100 to 1,000 range and low-volume production extending to 10,000+ depending on tooling strategy as defined in one guide. That range matters because it changes how you think about tooling wear, part cost, and schedule.
Imagine an assembly line with three lanes. A prototype sits in the inspection lane, where the main goal is to prove shape and function. Mass production sits in the highway lane, where every decision is about throughput and amortizing a durable tool over huge output. Low volume sits between them, where you still care about cycle consistency, but you also need room to adjust.
Why engineers use this band
Its value is that parts can behave like production parts without forcing production-scale commitment. Engineers use this band when they need to validate shrink, weld lines, creep, and chemical resistance on the actual material and process, not just on a lookalike sample. That distinction is why low volume molding often feels more trustworthy than a printed mockup.
The market context helps explain why this has become normal. Contemporary industry reporting shows the plastics injection molding market continuing to grow in multiple measures, including a source that estimated 157.13 million tons in 2025 and another that placed the broader injection molded plastics market at USD 403.85 billion in 2024 with a forecast to USD 561.58 billion by 2032 as summarized by Mordor Intelligence. Those figures don't define your project, but they do show that low volume work sits inside an established industrial ecosystem.
A useful mental model is this, if you need real molded parts but not a lifetime tool, you're in the low-volume lane.
Comparing Tooling Options
Tooling is where low volume projects succeed or get expensive in a hurry. The mold is not just a cavity. It's the machine that turns CAD decisions into repeatable parts, so the material you pick for the tool changes cost, lead time, finish quality, and how forgiving the process will be.
Tooling choices and what they're good at
Rapid prototype molds are the fastest way to get into molded parts when the design is still moving. They're useful when speed matters more than longevity, especially for early validation or a very small pilot run. The trade-off is that they're less forgiving if the part has thin walls, sharp corners, or features that trap stress.
Soft tooling with aluminum inserts is the middle path many engineers land on. Aluminum is easier to machine than hardened steel, so it supports shorter lead times and lower upfront risk. The downside is simple, softer tools need cleaner part geometry and more disciplined processing because they don't give you the same margin for error.
Fully CNC-machined aluminum molds push the same logic further. They're often chosen when the run is moving closer to the upper end of the low-volume band and the team wants more stability without paying for a full steel program. They can deliver better repeatability than very fast prototype tooling, but they still sit in the same general trade space, quicker and cheaper than hardened steel, less durable than it.
Tooling Option Comparison
| Tooling Type | Cost Range | Part Count | Lead Time | Surface Finish |
|---|---|---|---|---|
| Rapid prototype mold | Lower upfront cost | Best for the smallest pilot runs | Fastest | Good, but more variable |
| Soft tooling with aluminum inserts | Moderate upfront cost | Typical low-volume runs | Fast | Good to very good |
| CNC-machined aluminum mold | Moderate to higher upfront cost | Near the upper end of low volume | Moderate | Very good |
The hidden trade-off most guides skip is process speed. Faster isn't always better if the tool is softer. A mold that fills too aggressively can wear the cavity faster, flash more easily, or force more rework on the parting line. Slower, steadier runs often protect the tool and improve consistency, especially when the mold is aluminum and the geometry is not forgiving.
Material Selection for Low Volume Molding
Material selection is where part performance gets decided before the first shot is even molded. A part can look fine in CAD and still fail in the field if the resin choice doesn't match the load, the environment, or the finish you need.
Start with the part's job
If the component needs stiffness and a clean appearance, engineers often look at common thermoplastics like ABS or polycarbonate. If it needs chemical resistance or better impact behavior, polypropylene or another engineering resin may fit better. Elastomers enter the discussion when flex, sealing, or grip matter more than rigidity.
The key is to match the resin to the part's real job. A housing needs dimensional stability and a surface that looks intentional. A bracket needs strength and enough heat behavior to survive assembly. A gasket or overmolded feature needs flexibility without turning gummy or tearing during demolding.
For a deeper thermoplastics breakdown, this guide on injection molding thermoplastics is a useful companion when you're comparing resin families.
Three selection questions that save rework
Ask these before you approve the material:
- Does the part need to stay rigid? If yes, favor resins that hold shape and support assembly without excessive flex.
- Will it see chemicals or cleaners? If yes, chemical resistance matters more than cosmetic perfection.
- Is appearance part of the spec? If yes, colorability, gloss, and surface transfer from the mold all become important.
Shrink behavior also matters more in low volume work than many teams expect. When the run is small, there's less room to hide a material mismatch behind sheer quantity. If the first parts are off, the batch may never recover without a mold adjustment or a resin change.
Field lesson: choose the resin for the environment first, then tune the tool for appearance and process stability.
Cost and Lead Time Models
The cleanest way to think about low volume economics is to split the spend into fixed and variable pieces. Fixed costs happen once, tool build, setup, and process preparation. Variable costs grow with every part, resin, machine time, labor, and any post-processing needed to ship usable pieces.
Why tool cost dominates the first units
A low-volume tool can be the most expensive part of a very small run, even when the per-part molding cost is reasonable. That's normal. You're spreading a one-time investment across a limited number of parts, so the first few hundred pieces carry a lot of tooling burden. As volume rises, that burden gets spread thinner, which is why the quoted part price usually drops as order quantity increases.
There isn't one universal cost curve because part geometry, resin choice, and tool complexity change the math. A simple way to frame it is to ask where the design crosses from “too expensive to mold” into “cheaper than making each part another way.” That break point moves depending on how much machining the tool needs, how often it can be reused, and whether the part demands a careful finish.
Lead time has more than one clock
Lead time is not just mold fabrication time. It also includes quoting, DFM review, tool machining, fitting, first shots, and any corrections after the trial run. A team can save time on the cavity but lose it on poor gate placement or hard-to-eject geometry.
The published examples in the research brief make the same point from different angles. One case showed a molded part stream moving from idea to production quickly with printed tooling, while another showed that a printed tool could shorten the path versus a machined metal mold. The lesson isn't that printed tools always win, it's that tooling choice and cycle strategy are tightly linked.

Cost and Lead Time Models in Practice
| Cost Element | What It Means in Practice |
|---|---|
| Tooling | The one-time build that must be recovered across the run |
| Setup | Machine prep, calibration, and first-article checks |
| Per-part material | Resin cost rises with every shot |
| Per-part operation | Machine time, labor, and handling grow with batch size |
The hidden decision framework is this. If the program lives or dies on speed, favor the tool path with the shortest fabrication and validation loop. If the program needs repeatability over a longer pilot run, spend more on the cavity and more time on setup so the process doesn't drift under pressure.
DFM Guidelines Tolerances and Quality Practices
Low-volume tools are often built from aluminum or other rapid tooling materials, so design discipline matters more than many teams expect. A softer tool can produce good parts, but it gives less forgiveness than a hardened production mold. Sharp internal corners, uneven wall sections, and poor gate choices show up faster because the cavity wears and deflects more easily.
A useful way to judge the trade-off is simple. A tool that is faster and cheaper to build can demand tighter part design and more careful process control, while a more durable tool can tolerate a wider range of conditions.
Geometry rules that protect the tool
Industry guidance targets 1 to 3.5 mm wall thickness, 1 to 2 degrees draft on untextured surfaces, and gate placement at the thickest section so flow moves toward thinner areas before freeze-off as noted by Hooren Mold. Those rules are practical, not decorative. They reduce warpage, sink, internal stress, and ejection damage, which matters even more when the tool material is less forgiving.
The wall thickness rule helps the part cool more evenly, so one area does not lock up while another is still shrinking. Draft helps the part release without scraping the cavity, which protects both the mold surface and the part finish. Gate placement at the thickest section gives the melt a better path, because the material can keep flowing into thinner regions before it freezes. That same design logic also applies to well-designed plastic injection molding parts, where geometry choices made early often decide whether the trial run is stable or full of rework.
Practical rule: if the part is hard to pull from the mold in CAD, it will be harder in the press.
Quality checks that catch problems early
Quality in low-volume work should start before production, not after scrap shows up. Engineers usually inspect the first shots for fill pattern, sink, flash, and ejection marks, then confirm critical dimensions against the CAD. Dimensional inspection tools such as CMMs and optical measurement systems are common choices when fit really matters.
A good inspection plan also pays attention to process behavior, not just final dimensions. A part can meet size on the first shot and still show a weak gate vestige, unstable fill, or a finish problem that grows as the run continues. That is where process speed matters, because a fast cycle can save money while also reducing the time available for the melt to settle, and a slower cycle can improve fill consistency but raise cost and extend lead time.
Documentation matters too. Record the material lot, machine settings, and any adjustments made during the trial run. That history becomes the starting point for the next batch instead of forcing the team to rediscover the same settings.
If the part is destined for regulated or high-reliability use, the inspection plan should be tight from the first article onward. A good low-volume run is not just a batch of parts, it is a controlled process that can be repeated when the next order arrives.
Comparing Alternatives and Choosing a Supplier
Low volume injection molding is powerful, but it isn't the only way to make a small batch of parts. The right answer depends on geometry, finish, tolerance, and how much you can tolerate in material waste or surface variation.
Where the alternatives fit
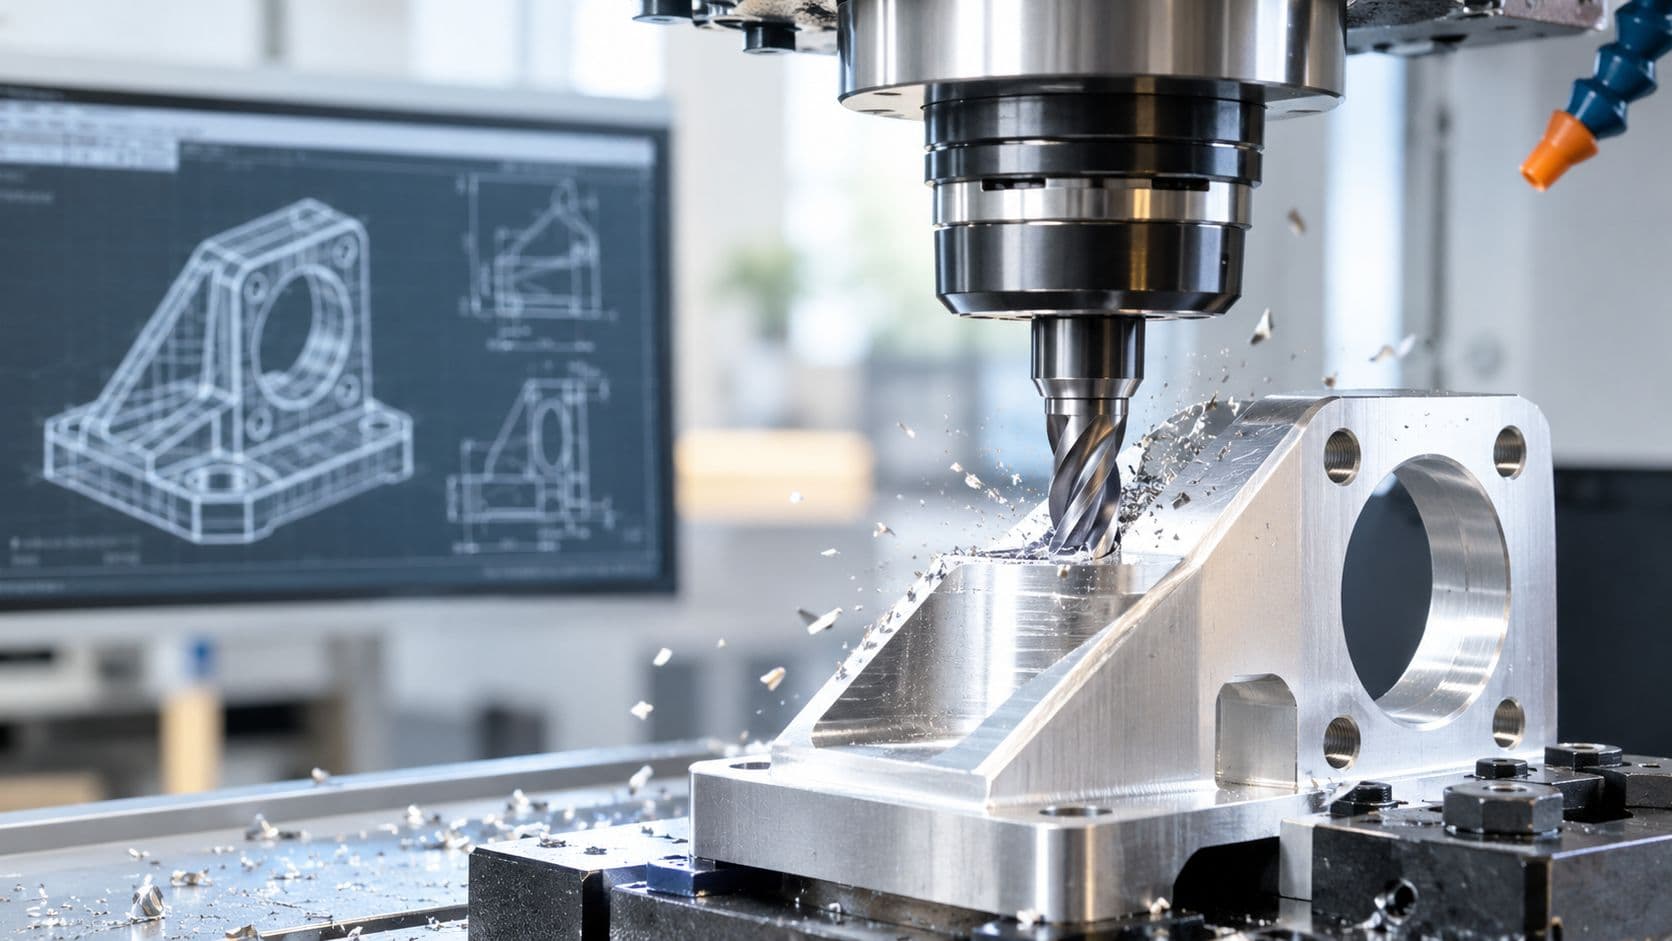
CNC machining is strong when precision matters and the batch is small enough that cutting each part one at a time still makes sense. It's a good fit for metals and stable plastics, but it wastes more material than molding and part cost can stay high as quantity rises.
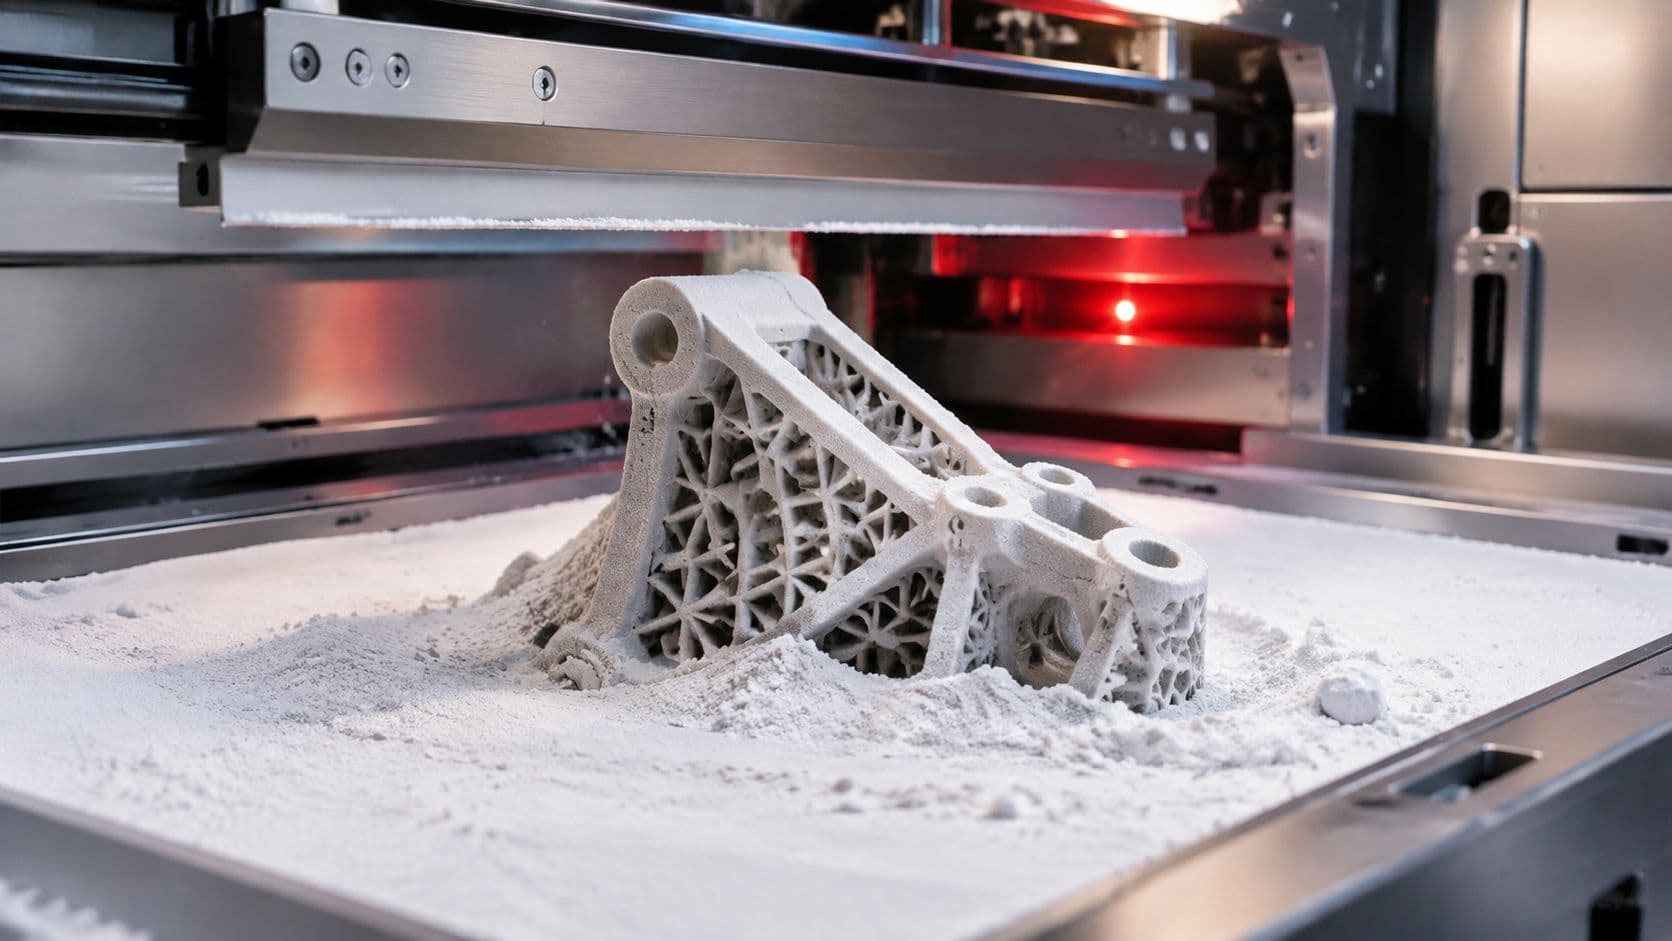
SLA and SLS 3D printing are the fastest paths for design iteration and highly complex geometry. They're excellent when you're still learning what the part should be, but the surface behavior and final material feel don't always match molded production parts.
Vacuum casting works well for small batches of accurate plastic parts when the geometry and finish need to be good without committing to mold tooling. It's often a sensible middle path for short runs, especially when the team cares more about cosmetic quality than the exact feel of production thermoplastics.

Choosing a supplier without guessing
A supplier should be judged on more than price. Look at whether they can move from CAD intake to quote quickly, whether they can support the finish you need, and whether they can inspect parts with documented methods. Certifications matter too when the end use touches medical or automotive programs.
A workable supplier checklist looks like this:
- Quoting workflow: Can they review CAD files and give process, price, and lead-time input without a long back-and-forth?
- Inspection depth: Do they have documented dimensional inspection, not just visual checks?
- Process range: Can they support molding, machining, printing, and post-processing under one roof?
- Quality systems: Do their certifications match your end market and compliance needs?
FIRMFG is one option in that broader supplier market. It offers injection molding alongside CNC machining, 3D printing, vacuum casting, surface finishing, and dimensional inspection, so it can support projects that move from prototype to small-batch production without splitting the workflow across multiple vendors.
If the job needs a different route entirely, this comparison of urethane casting versus injection molding is worth reviewing before you lock in the process.
Conclusion and Next Steps
Low volume injection molding makes sense when you need real molded parts without committing to full production tooling. The biggest decisions are still the classic ones, tool material, resin choice, and geometry discipline. The difference is that in low volume work, those choices have a sharper effect on lead time and on how much risk you carry into the first run.
The smartest next step is to treat the project like a controlled launch, not just a quote request. Clean up the CAD, verify the wall thickness and draft, and decide what the part must prove in the first batch. Once that's clear, you can ask a supplier to optimize the tooling path instead of pricing the part.
A CTA for FIRMFG.