Vacuum Casting Cost: A Practical Guide for Engineers
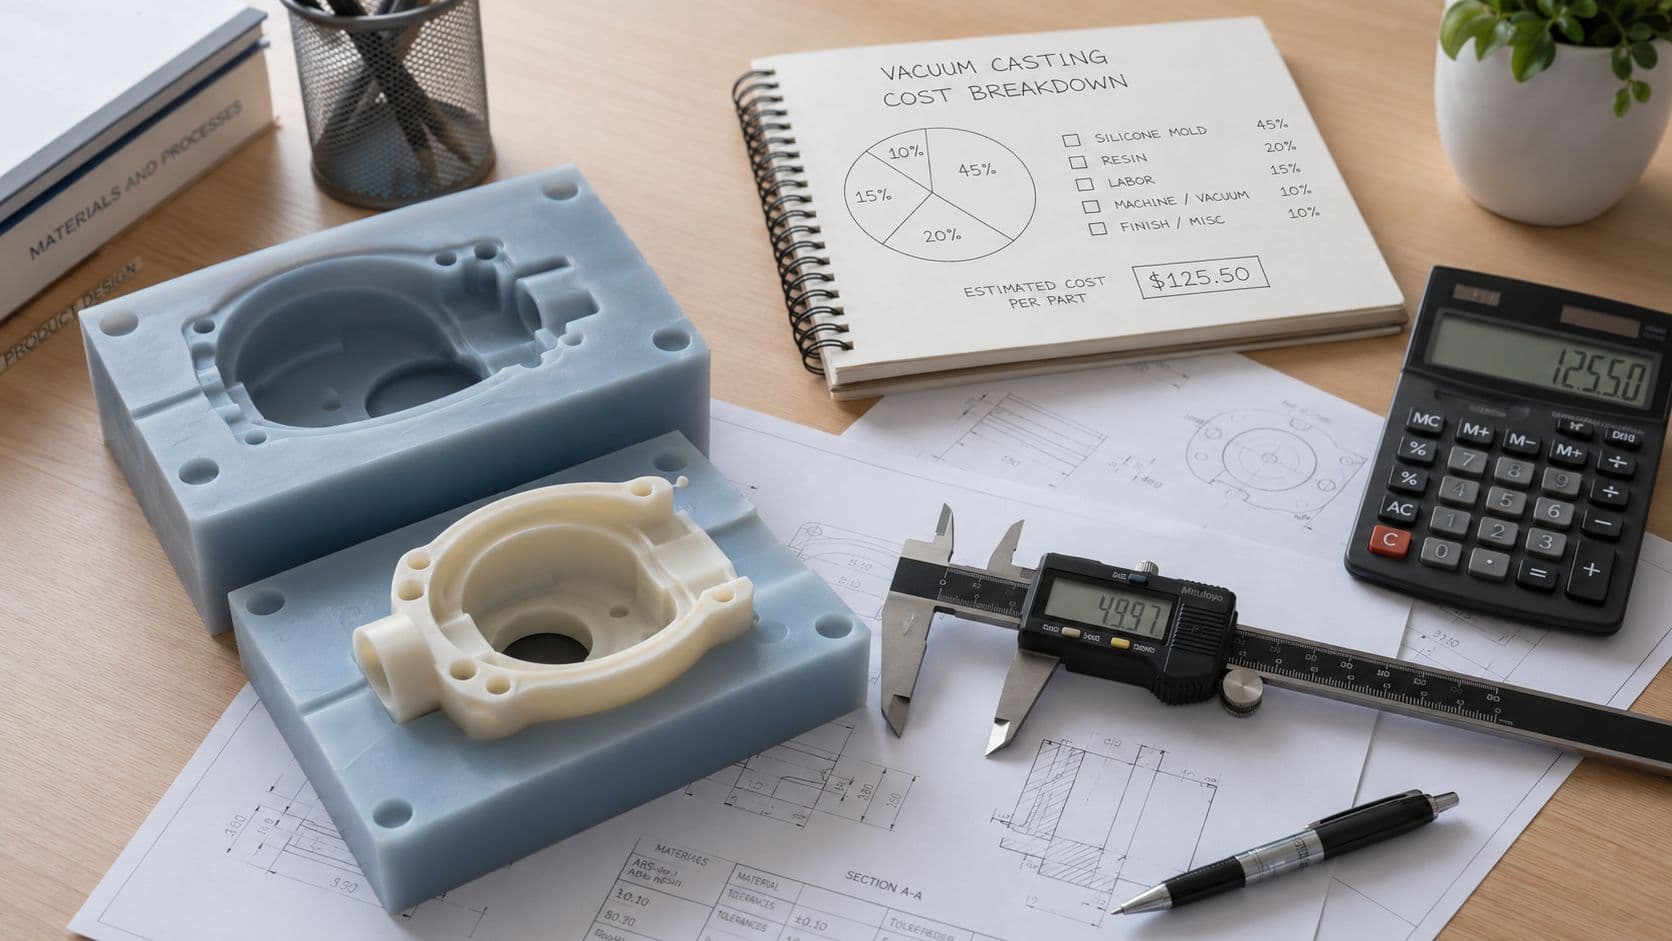
A vacuum casting run typically lands at $10–$100 per part, with $200–$1,000 in silicone tooling before finishing, inspection, and other project charges are added. That makes it compelling for small batches, but the process stops looking cheap when the geometry needs multiple molds or a high cosmetic standard.
An engineer at a hardware startup is trying to release a usable pilot build. The team needs 50 functional prototypes for a usability study and a crowdfunding launch, while procurement wants a defensible number within 48 hours. The supplier has sent a quote that appears reasonable at first glance, but the line for finishing is vague, mold life isn't clear, and inspection is listed as an optional service.
That situation is common. Buyers don't need another generic description of polyurethane casting. They need to know whether the quoted tooling will cover the order, whether the part will need a second silicone mold, and whether injection molding or 3D printing would make more financial sense.
Table of Contents
- The Real Cost Question Behind Vacuum Casting
- How Vacuum Casting Works
- The Six Line Items That Make Up a Vacuum Casting Quote
The fixed setup charges
The variable production charges
The charges buyers underestimate
Per-Part Cost Examples by Batch Size
A Simple Cost-Estimation Formula for Your Own Part
Vacuum Casting vs Injection Molding vs 3D Printing
Design and Procurement Choices That Lower the Bill
Quick Decision Guide and FAQs- How long does the process take?
The Real Cost Question Behind Vacuum Casting
The first question is simple: what will each finished part cost after tooling is spread across the run? Industry pricing guidance places silicone molds at roughly $200 to $1,000 and individual cast parts at approximately $10 to $100, depending on size, complexity, material, and finish requirements (vacuum casting cost guide).
That range is broad because vacuum casting quotes combine fixed and variable costs. A master pattern and mold create the initial burden. Resin, casting labor, trimming, painting, inserts, inspection, and packaging then determine whether the unit price falls as the batch grows. The quoted resin price alone tells you very little.
For the 50-unit pilot, procurement should ask three questions before approving the process:
- What is included in the tooling line? Confirm whether the quote covers the master pattern, mold box, vents, gates, and the first article.
- How many molds will the supplier use? A single mold may not survive the required number of pulls while preserving cosmetic detail.
- Which operations are outside the unit price? Painting, pad printing, insert installation, color matching, dimensional reports, and special packaging can materially change the invoice.
Procurement rule: Treat the first quote as a cost model, not as a final price. Ask the supplier to separate fixed tooling, per-part production, finishing, inspection, and logistics.
Vacuum casting earns its place when the buyer needs a modest number of production-like urethane parts without committing to hard tooling. Published comparisons put a 100-part project at roughly $5,500 to $11,500 in one cost breakdown, while another places the process's practical breakeven around 80 to 120 parts, depending on the alternative and part requirements (short-run vacuum casting comparison).
By the end of a quote review, you should be able to explain which cost belongs to the design, which belongs to the batch, and which belongs to the quality requirement. That gives finance a credible budget and gives you enough authority to challenge a supplier that has hidden the expensive work inside a vague “miscellaneous” line.
How Vacuum Casting Works
Vacuum casting turns one finished master pattern into a series of polyurethane or rubber-like parts. The master pattern defines the geometry and surface quality. A flexible silicone tooling mold forms around it, then reproduces that geometry for each casting.
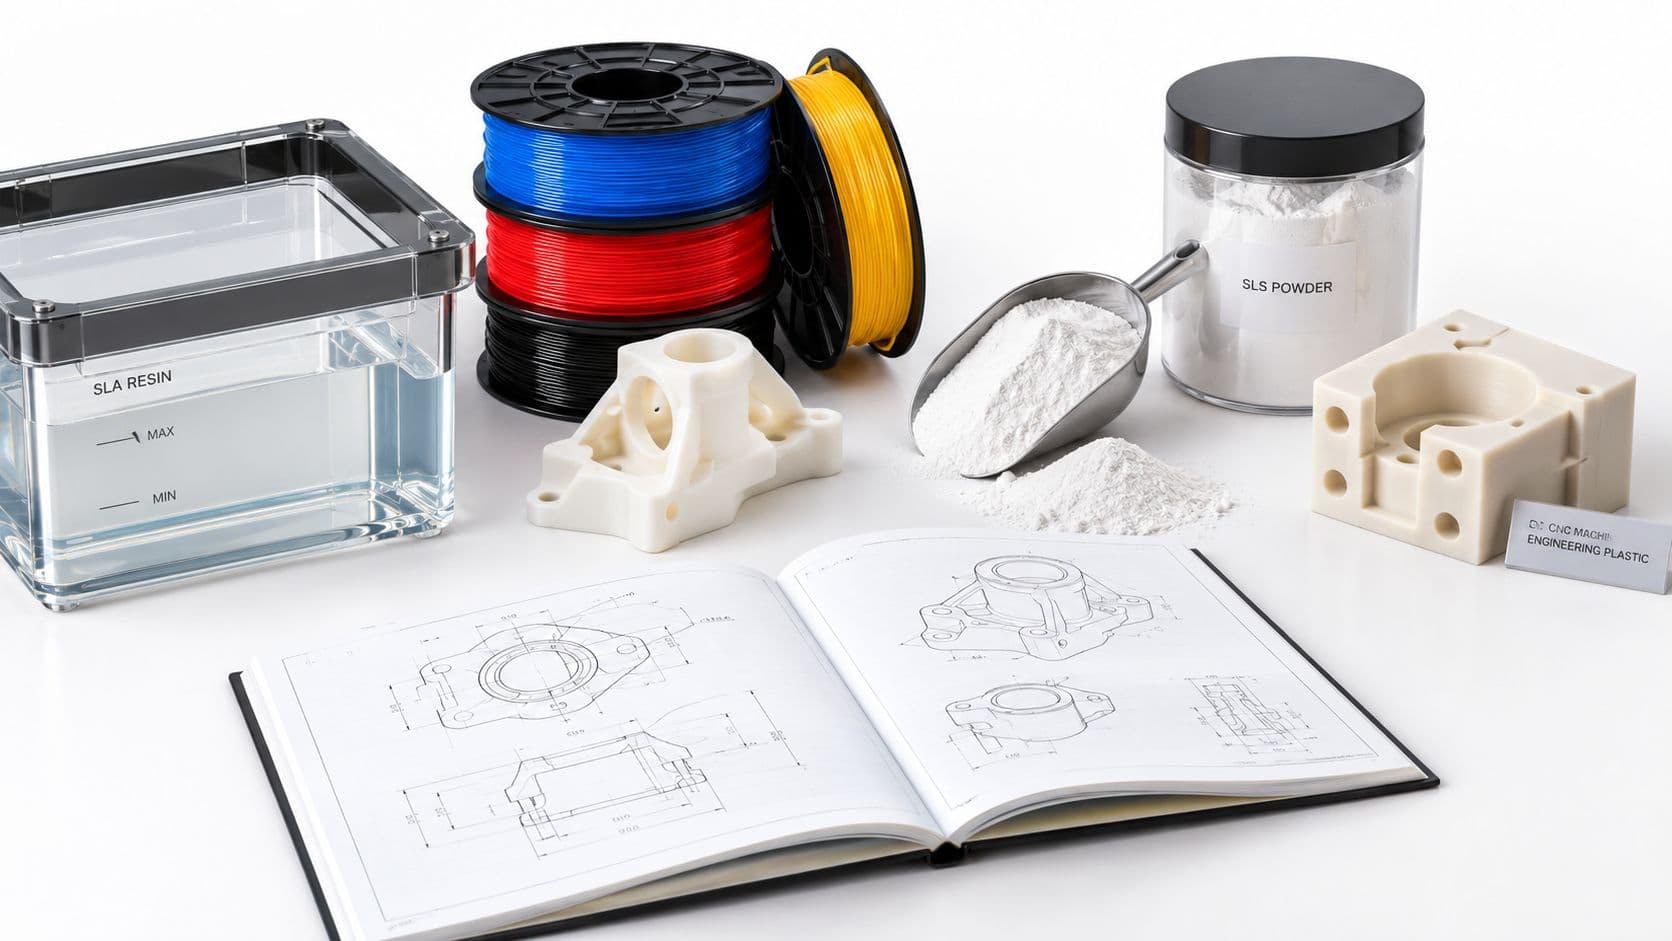
The supplier first creates the master pattern, commonly through SLA printing or CNC machining. Technicians remove support marks, polish surfaces, apply the required texture, and mount the pattern inside a mold box. Liquid silicone surrounds the pattern and cures. After the silicone hardens, the pattern is removed, leaving a flexible cavity that captures its details.

A typical production cycle follows this sequence:
- Prepare the mold. The operator cleans the cavity and applies release treatment where required.
- Mix the resin. Polyurethane or rubber-like material is blended with pigment, fillers, or additives.
- Pour under vacuum. The vacuum removes trapped air and helps the liquid reach fine features.
- Cure the casting. The filled mold remains at room temperature or in a heated environment until the resin hardens.
- Demold the part. The operator opens the silicone and removes the casting without damaging delicate features.
- Trim and finish. Gates, flash, and parting-line marks are removed before inspection.
A casting cycle covers one mold fill, cure, and demold operation. Demold time often drives labor cost because the operator must open the flexible tool and remove each part carefully. Deep undercuts, thin walls, sharp edges, and tight clearances make this step slower and raise the risk of mold damage.
Common resin families include ABS-like, polypropylene-like, clear, and flexible rubber-like materials. The selection changes handling, cure behavior, appearance, and finishing requirements. FIRMFG outlines the sequence in its vacuum casting process guide.
Silicone tools have a finite working life. Practical guidance commonly places mold life at about 15 to 50 good parts, with roughly 50 casts often treated as an upper practical limit before quality degradation becomes a concern. Mold life falls when the design has deep undercuts, thin sections, sharp edges, aggressive draft conditions, or a difficult demolding sequence. A large order may therefore require several molds, turning a seemingly simple unit-price comparison into a higher tooling bill.
The Six Line Items That Make Up a Vacuum Casting Quote
A clean quote should let you trace every dollar to one of six categories. If a supplier combines all six into one unit price, ask for a breakdown before comparing offers.
The fixed setup charges
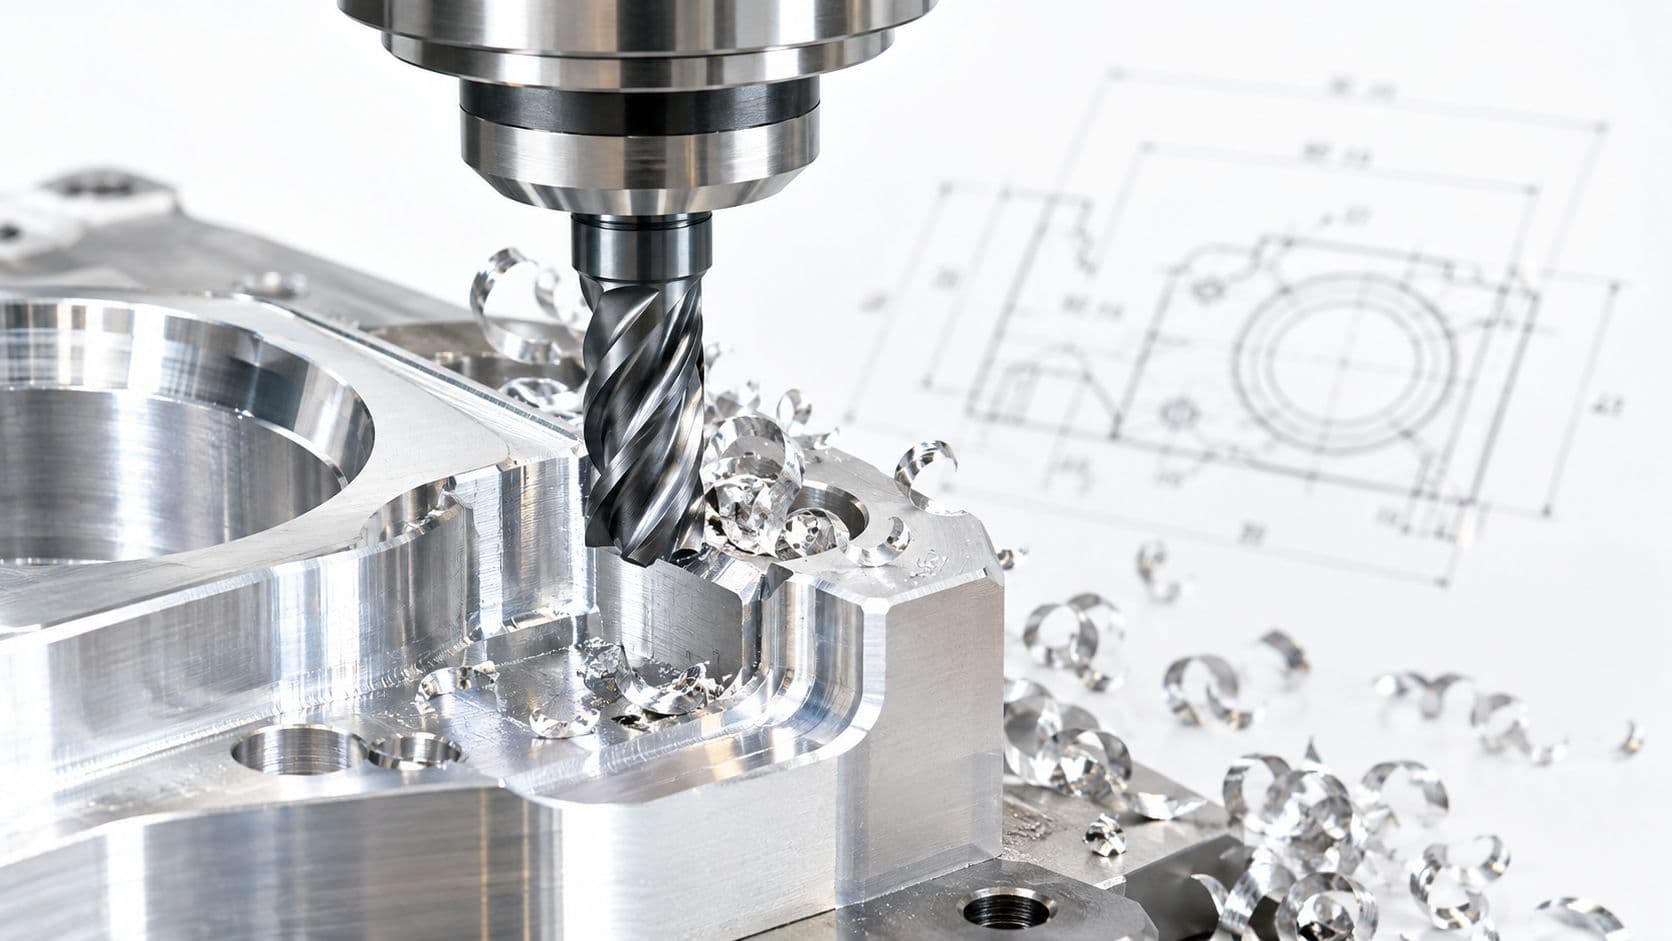
The master pattern is the physical reference used to create the silicone tool. SLA printing may suit a cosmetic housing with moderate requirements, while CNC machining makes more sense when the pattern needs a specific material, tighter control, or a polished surface. The silicone mold then reproduces that pattern and becomes the main fixed tooling charge. Review the supplier's stated mold construction and replacement policy alongside its silicone mold service details.
The variable production charges
Resin and consumables rise with part volume, but material selection matters just as much. A rigid ABS-like polyurethane usually has a different cost profile from clear resin, flexible rubber, or a specialty filled grade. Consumables can also include release agent, pigment, inserts, mixing cups, and protective packaging.
Labor and machine time cover vacuum preparation, resin mixing, pouring, cure handling, demolding, trimming, and tool cleaning. A visually simple part can still carry a high labor burden if the operator must remove delicate flash or install threaded inserts one at a time.
The charges buyers underestimate
Post-processing is where an attractive prototype quote often breaks. Sanding, polishing, painting, color matching, masking, pad printing, soft-touch coating, and insert assembly all add labor. A supplier's published guidance places finishing and painting at approximately $5–$30 per part, while polyurethane resin may run around $15–$80 per part depending on the specification (polyurethane vacuum casting cost factors).
Shipping and inspection should be separated rather than buried in production cost. Ask whether the price includes dimensional inspection, a first-article report, photographs, serialized labels, and export packaging. A cosmetic enclosure may need more inspection and finishing effort than a functional bracket even if the two parts use similar resin volumes.
| Cost component | Typical range | Main driver |
|---|---|---|
| Master pattern | Supplier-specific | Pattern technology, size, surface quality |
| Silicone mold | $200–$1,000 per tool | Geometry, split line, undercuts, mold size |
| Resin and consumables | Supplier-specific | Resin family, volume, pigment, inserts |
| Labor and machine time | Supplier-specific | Casting cycle, demolding, trimming, operator handling |
| Post-processing | $5–$30 per part for finishing and painting | Cosmetic grade, color, printing, coating |
| Shipping and inspection | Supplier-specific | Documentation, packaging, destination, inspection scope |
For a 20-part build, the master pattern and mold dominate. For a larger run, the buyer starts paying for additional molds, duplicate handling, and quality control capacity. The quote should make that transition visible instead of presenting a single unexplained per-part figure.
Per-Part Cost Examples by Batch Size
Use batch size as a planning variable, not as a promise of a universal price. A moderately complex ABS-like enclosure with one cosmetic face, insert features, and routine trimming will not share the same economics as a plain bracket.
The following model uses the planning ranges supplied for this guide. It illustrates how tooling and finishing affect the total, rather than representing a guaranteed supplier quote.
| Batch size | Molds needed | Tooling cost | Pattern cost | Resin per part | Post-processing per part | Total per part | Total run cost |
|---|---|---|---|---|---|---|---|
| 20 | 1 | $400 | Supplier-quoted | $3–$6 | $4–$8 | $55–$65 | $1,100–$1,300 |
| 50 | 1 | $500 | Supplier-quoted | $3–$6 | $4–$8 | $30–$40 | $1,500–$2,000 |
| 100 | 2 | $600 | Supplier-quoted | $3–$6 | $4–$8 | $20–$25 | $2,000–$2,500 |
| 200 | 3–4 | $800 | Supplier-quoted | $3–$6 | $4–$8 | $14–$18 | $2,800–$3,600 |
The table shows why a 50-unit program can be attractive even when the first few parts appear expensive. The master pattern and first tool carry a disproportionate share of the early cost. Once the buyer spreads those charges across more parts, the unit price falls, but the reduction isn't unlimited because silicone tools wear and additional tools add setup cost.
A practical tipping point often appears above 60–80 parts, when the supplier may split production across two or three molds. That added tooling can look like a penalty, but it can reduce queueing, shorten cycle time, and protect detail by preventing one tool from carrying the entire run.
Part geometry changes the result sharply. A simple bracket at 100 units can fall below $15 per part, while a cosmetic enclosure with paint and inspection can push the same run above $40 per part. That difference comes from finishing, handling, and quality requirements, not from resin alone.
For a supplier comparison, request two versions of the quote: one for functional trim-and-inspect parts and another for presentation-grade parts. The difference will show whether your program is buying manufacturing capacity or buying appearance.
A Simple Cost-Estimation Formula for Your Own Part
Use this equation during a quote review:
Total cost = Tooling + (Pattern × Molds) + (Material × Units) + (Labor × Units) + (Finishing × Units) + Overhead
For planning, treat overhead as approximately 25%–35% of the subtotal. That allocation covers setup, programming, vacuum equipment time, shop handling, and other production resources that don't map neatly to one part.
Consider a 100-unit small enclosure using one mold:
- Tooling: $500
- Pattern: $200
- Resin: $4 per part
- Labor: $5 per part
- Finishing: $6 per part
Before overhead, the modeled total is $2,100, or approximately $21 per part. Applying the stated overhead band takes the budget to roughly $26.25–$28.35 per part, so a finance-ready allowance of about $27 per part is reasonable for this simplified example.
The estimate becomes less reliable as requirements become more demanding. Use these planning multipliers only as sensitivity checks, not as supplier facts:
- Geometry complexity: model a possible increase from ×1.0 to ×1.4.
- Surface finish: model ×1.0 to ×1.3 when moving from functional trim to cosmetic presentation.
- Tolerance class: model ×1.0 to ×1.2 for tighter dimensional control.
- Color matching: model approximately ×1.1 when the supplier must match a specified color.
These factors can compound. A buyer who asks for a complex enclosure, polished surfaces, tight tolerances, and exact color should expect a very different quote from one requesting a functional black housing.

This formula is a budgeting tool, not a quote substitute. Send the supplier the STEP file, drawings, finish callouts, resin requirement, quantity, and inspection plan before you commit.
Vacuum Casting vs Injection Molding vs 3D Printing
Process selection should follow the volume window and the part's job. Vacuum casting is usually the middle option: more economical and repeatable than producing many individual printed parts, but less suitable than injection molding when the program reaches sustained production volume.
| Batch size | Vacuum casting per part | Injection molding per part | 3D printing per part | Best process | Notes |
|---|---|---|---|---|---|
| 10 | Higher fixed-cost burden | Tooling burden dominates | Often favorable | 3D printing | No mold is needed, and design changes remain easy |
| 100 | Strong short-run option | Tooling may not be recovered | Handling can become inefficient | Vacuum casting | Silicone tooling supports production-like urethane parts |
| 500 | Supplier and mold strategy become critical | Economics improve as tooling is amortized | Usually difficult to scale efficiently | Depends on geometry | Compare replacement molds, cycle time, and required finish |
| 5,000 | Usually the wrong production method | Typically the stronger unit-cost choice | Poor fit for repeated volume | Injection molding | Hard tooling supports repeat production |
Published comparisons place injection molding tooling at approximately $5,000–$15,000 in one short-run comparison, with per-part costs potentially falling to $8–$40 at higher volumes (vacuum casting and rapid injection comparison). That fixed investment changes the decision. If the program will continue well beyond the prototype or validation phase, injection molding deserves a serious quote rather than an automatic rejection.
3D printing wins when the team needs only a handful of parts, expects frequent CAD changes, or values immediate iteration more than molded appearance. It avoids silicone tooling, but each part carries its own build, support removal, and finishing burden. For a larger group of identical appearance models, vacuum casting generally gives procurement a more controllable repeat-production model.
Decision rule: Below the small-batch window, buy flexibility. In the short-run window, buy repeatability. Once demand supports hard tooling, buy the lower recurring unit cost.
Material capability can override the volume calculation. Polyurethane casting can simulate several common plastic behaviors, but it shouldn't be treated as a drop-in replacement for every production thermoplastic. If the part must survive a production duty cycle requiring materials such as PPS or glass-filled nylon, validate the resin's properties before approving a cosmetic or bridge-build process.
For buyers comparing tooling routes, rapid tooling services can help frame the alternative, but the supplier still needs your geometry, volume forecast, tolerance plan, and finish requirements to produce a meaningful comparison.
Design and Procurement Choices That Lower the Bill
Design for manufacturing and supplier selection are the most impactful cost controls. A difficult split line or trapped undercut can force a two-piece mold, increase labor, and raise the chance of cosmetic damage during demolding. Fixing that geometry in CAD is cheaper than fixing it after silicone has cured.
Start with the part itself:
- Add draft: Use approximately 1–2° of draft where the design allows it to reduce extraction stress and help extend mold life past 25 pulls (silicone mold life and design guidance).
- Control wall variation: Keep wall thickness uniform within approximately ±0.5 mm where the design permits, reducing uneven cure behavior and cosmetic defects.
- Control the envelope: Keeping the part below 300 mm can help it fit one cavity and avoid extra seams or mold segmentation.
- Remove trapped volumes: Redesign enclosed undercuts, deep pockets, and inaccessible features that force a complicated two-piece tool.
Material selection also affects the bill. ABS-like and PP-like polyurethanes generally make more straightforward choices than clear, glass-filled, or highly flexible grades when the requirement is a standard functional prototype.
Procurement can lower the total without changing the part:
- Batch colors and finishes: Put related variants on one purchase order so setup work isn't repeated.
- Request cavity planning: Ask the supplier whether several part numbers can share a coordinated mold and production schedule.
- Compare pattern routes: Have the supplier quote SLA and CNC master patterns when both can meet the surface requirement.
- Demand a sample pull: Approve the first cast part before authorizing the full batch.
- Separate quality charges: Require individual pricing for dimensional reports, color approval, and first-article inspection.

FIRMFG offers vacuum casting alongside CNC machining, 3D printing, injection molding, finishing, and inspection, so a buyer can compare processes against the same part data rather than collecting disconnected quotes.
Quick Decision Guide and FAQs
Choose vacuum casting when you need a short run of production-like urethane parts, a credible cosmetic finish, and repeatability across the batch. Skip it when the program requires production-grade engineering thermoplastics, very tight tolerances, or sustained high volume.

How long does the process take?
Plan for a supplier-confirmed schedule that includes master pattern preparation, silicone tooling, sample approval, casting, finishing, and inspection. The calendar depends on geometry, quantity, and finish scope, so don't approve a deadline based only on casting time.
How long does one silicone mold last?
Published guidance commonly places practical life around 15–50 good parts, with other cost guidance using approximately 20–30 shots as a typical planning range before detail degradation becomes important (vacuum casting pricing deep dive). Ask the supplier to state the expected usable pulls for your actual geometry.
Which costs do engineers underestimate?
Undercuts, secondary finishes such as pad printing or soft-touch coating, replacement molds, and inspection reports are frequent omissions. Request each item as a separate line before comparing suppliers.
If your next build needs low-volume polyurethane parts, send the STEP file, quantity, finish standard, material target, and inspection requirements to FIRMFG. Ask for a line-item vacuum casting quote and a comparison against 3D printing, CNC machining, or rapid injection molding so you can approve the process on total cost, not headline tooling price.