Stainless Steel Fabrication: A Practical Guide for 2026
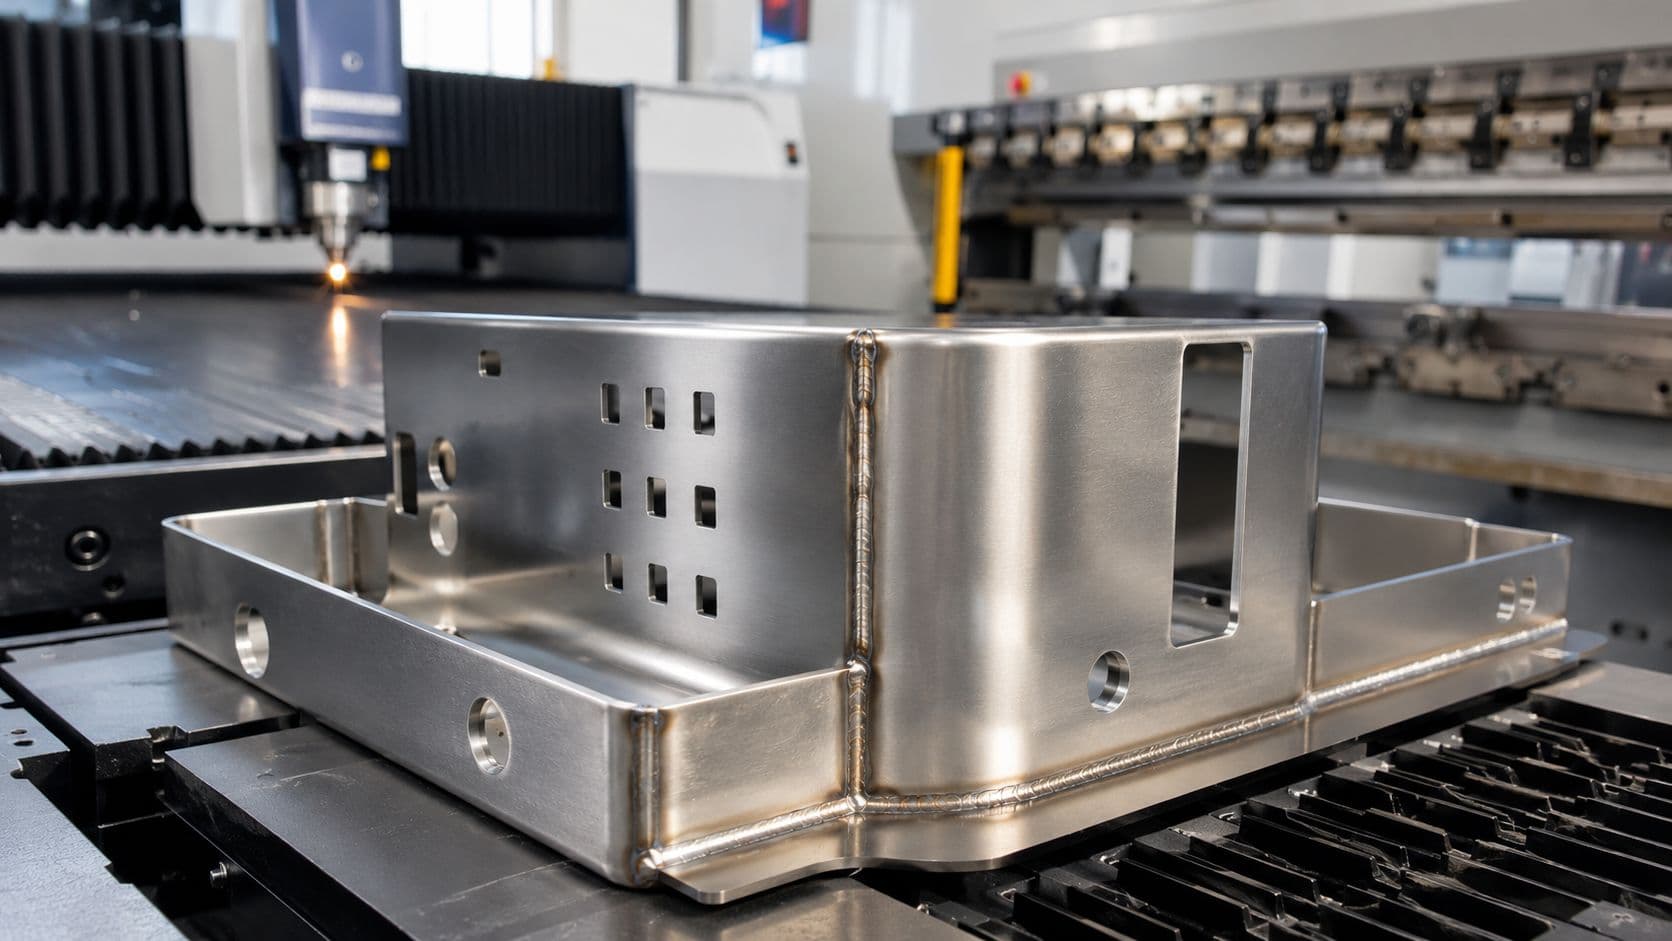
You can get a stainless prototype back that looks right in CAD, then spend the next two weeks wondering why the first run came back warped, heat tinted, or already showing rust at the welds. That failure pattern is common because stainless steel fabrication punishes small process mistakes. The alloy choice, the cutting setup, the bend strategy, and the cleanup after welding all affect whether the part keeps its corrosion resistance and geometry after it leaves the shop.
Table of Contents
- Why Stainless Steel Fabrication Demands a Different Playbook
What makes stainless different in practice
What to ask before you approve a quote
Choosing the Right Stainless Steel Grade for Your Part- Start with the job your part has to do
Core Fabrication Methods and Stainless-Specific Parameters- Cutting and machining need discipline, not just capability
Surface Finishes and the Hidden Corrosion Risk After Fabrication- Why appearance and corrosion resistance aren't the same thing
Design for Manufacturability Rules for Stainless Prototypes and Short Runs- Geometry needs room for the process
Inspection, Quality Systems, and Cost Trade-Offs- Match inspection to the part's job
Recommended Workflow for Sourcing Stainless Fabrication
Why Stainless Steel Fabrication Demands a Different Playbook
A hardware team usually finds out on the first prototype run. The drawing looks ordinary, the shop says it can handle sheet metal, and the first stainless parts come back with bent flanges that miss angle, welds that are straw-colored, and rust freckles near a cut edge a few weeks later. That is a process problem, not a cosmetic one. It usually means the shop treated stainless steel fabrication like mild steel work with a different material label.

What makes stainless different in practice
Stainless work hardens quickly, so a dull tool or a light rub instead of a clean cut can make the next pass harder, not easier. In austenitic sheet work, cut quality depends on control at the machine, not luck at final inspection. Stainless fabrication guidance from the International Molybdenum Association recommends a blade clearance of about 5% of material thickness, a smallest shear angle of about 0.5°, and a feed rate of at least 0.076 mm (0.003 in.) per cut so the tool cuts below the work-hardened surface layer instead of rubbing it, because rubbing raises cutting forces and worsens edge quality (IMOA fabrication guidance).
Heat behaves differently too. Stainless does not dump heat away as quickly as carbon steel, so localized input from machining and welding stays concentrated longer and drives distortion. A flat prototype can come off the brake or out of the weld cell with twist, not because the geometry was wrong, but because the process plan ignored the material.
Practical rule: if the supplier cannot explain tooling, coolant, and cleanup for stainless specifically, they are probably guessing.
What to ask before you approve a quote
Ask whether the shop uses stainless-only tools or at least stainless-only finishing stages, because contamination is a real failure mode. Carbon-steel dust, dirty wire wheels, and shared clamps can leave iron contamination behind, and once that embeds in the surface, rust can show up even when the base alloy is correct. That is the part many teams miss, they focus on weld size and leave surface integrity undefined.
The historical reason stainless became a fabrication staple also matters. The alloy's early practical turning point came in 1913, when Harry Brearley in Sheffield produced the first true stainless steel by adding 12.8% chromium and 0.24% carbon to iron, and by 1929 the United States was making and selling over 25,000 tons annually, which marked the move from lab metallurgy to scalable forming, cutting, and finishing operations (historical fabrication overview). That scale is why stainless now shows up in tools, medical products, and architectural parts, but scale does not remove the material's quirks. It only makes bad process control more expensive.
Choosing the Right Stainless Steel Grade for Your Part
Grade selection sets the rest of the job up or down. If the alloy can't be formed, welded, or machined the way your part needs, no amount of finishing at the end will rescue it. The cleanest way to think about stainless is by fabrication behavior first, corrosion second, and cost third.
Material selection details matter because every grade family behaves differently at the press brake, on the CNC mill, and in post-weld cleanup.
Start with the job your part has to do
Austenitic grades are the default for most sheet metal work because they're generally the most forgiving in forming and welding. They fit housings, brackets, covers, enclosures, and most general-purpose hardware where corrosion resistance and manufacturability both matter. For many teams, that's where 304 ends up.
316 earns its premium when the part will see harsher chemical or marine exposure, or when you need more margin on corrosion performance. It's the safer choice when a customer will clean aggressively, the environment is wet, or the part will sit near saltwater and spray.
Ferritic grades are useful when you want decent corrosion resistance and simpler magnetic behavior, but you're not chasing the same combination of weldability and formability as austenitic material. Martensitic grades make more sense when strength and hardness matter more than corrosion resistance, especially in knife-like, cutting, or wear-driven components. Duplex sits in a different conversation. It's chosen when you need a stronger, more specialized balance of properties, and your fab partner already knows how to handle the extra process discipline it requires.
What to do with free-machining material
For CNC-heavy parts, free-machining grades can speed production, but the trade-off is real. The verified guidance says machinability improves materially when sulfur is controlled to 0.015%–0.030%, and that sulfur addition has to be balanced against corrosion and cleanliness requirements, so this chemistry is most useful where chip control and tool life matter more than maximum corrosion performance (technical properties table). That's a useful option for turned parts, threaded components, and features that need predictable chip breaking.
Decision rule: choose the grade for the worst condition your part will see, then make sure the manufacturing process can still hold geometry without damage.
| Grade | Family | Formability | Weldability | Machinability | Corrosion Resistance | Typical Applications |
|---|---|---|---|---|---|---|
| 304 | Austenitic | High | High | Moderate | High | Sheet metal enclosures, brackets, general hardware |
| 316 | Austenitic | High | High | Moderate | Higher in harsher environments | Marine parts, chemical exposure, food equipment |
| 303 | Austenitic, free-machining | Moderate | Moderate | High | Lower than general-purpose austenitic grades | CNC turned parts, threaded components |
| Ferritic grades | Ferritic | Moderate | Moderate | Moderate | Moderate | Automotive trims, interior features |
| Martensitic grades | Martensitic | Lower | Moderate | Moderate to high after heat treatment | Moderate | Cutlery, wear parts, precision blades |
| Duplex grades | Duplex | Moderate | Moderate with tighter control | Moderate | High | Demanding industrial parts, specialized structures |
Core Fabrication Methods and Stainless-Specific Parameters
A stainless prototype can look correct on the bench and still miss spec after cutting, bending, or welding. The failure usually comes from process control, not the material itself. If you are reviewing a supplier's plan, focus on how they control heat, tool condition, distortion, and contamination, because those details decide whether the part holds geometry and corrosion resistance in the field.

Cutting and machining need discipline, not just capability
Laser cutting, CNC machining, press brake bending, and welding all work on stainless, but stainless punishes weak setup faster than carbon steel. In sheet work, edge quality and distortion control depend on blade clearance, shear angle, and feed. In machining, sharp tooling, stable feed, and the right coolant strategy matter because stainless work-hardens when the tool rubs instead of cutting cleanly.
The practical issue is wear, heat, and contamination. A shop that runs dull tooling to save time usually pays for it later in edge cleanup, discoloration, and dimensional correction. If the part has cosmetic or hygienic requirements, that cleanup can also create a corrosion risk that was not there before fabrication. For a useful overview of finish sensitivity after fabrication, see this stainless steel finish guide.
Bending and welding are where geometry gets expensive
Thin stainless is notorious for springback. A bend that is set at 90° can return several degrees off target if the tooling and setup do not compensate for it, so bend allowance is not just a CAD value, it has to match the actual press brake behavior on the floor.
Proper coolants and lubricants, sharp tools, constant feeds, heat management, and dedicated stainless-only equipment reduce distortion and cross-contamination risk (fabrication mistake guidance). The shop-floor consequence is straightforward. The more heat and rubbing you put into stainless, the more likely you are to fight angle drift, visible discoloration, and unnecessary rework.
Welding adds another layer. TIG is often the safer choice for visible, thin, or high-cleanliness parts because the heat input is easier to control. MIG can still be the right choice for thicker sections or faster throughput, but the weld plan has to account for oxidation control and post-weld cleanup. If heat tint is left in place, the part may look finished while the surface still carries a corrosion penalty.
Shop-floor rule: if the fabrication plan does not mention distortion control, back-end cleanup, and contamination prevention, the part is probably being quoted as a generic metal job.
Surface Finishes and the Hidden Corrosion Risk After Fabrication
A polished surface can still fail in service. That's the trap on stainless parts that have been cut, welded, ground, or handled with the wrong tools. The visible finish tells you something about appearance, but not enough about whether the protective chromium-oxide layer is intact.
Why appearance and corrosion resistance aren't the same thing
Fabrication damage and contamination can harm the passive film, and authoritative guidance says a final acid treatment or passivation is often the best way to restore corrosion resistance. Mechanical cleaning alone is the least effective option, while mechanical cleaning followed by pickling or passivation provides the best result (ASSDA fabrication traps guidance). That distinction matters in food equipment, pharma hardware, and marine parts, where the surface isn't just visual, it's functional.
Many prototype programs go wrong. A team specs a bright finish because it looks premium, then assumes the part is protected. In reality, embedded carbon particles from grinding, heat tint that wasn't removed, or aggressive handling can leave a path for later rust. The base alloy may still be correct, but the surface state isn't.
Spec the finish for use, not just for looks
A 2B finish often makes sense when you need a clean industrial baseline and downstream processing will continue. A No. 4 brushed finish fits visible hardware where a consistent directional grain hides handling marks. Mirror polish is usually a cosmetic choice, but it can be the wrong call if the part will be scratched in assembly or service.
The better question is what the part has to survive after fabrication. If it will be cleaned repeatedly, contact food, or live outdoors, surface treatment has to be written into the drawing and the purchase order. That's why finish callouts should include cleanup method, passivation status, and any surface roughness target you care about.
Finish specification examples are useful only when they're tied to service conditions. Otherwise, the shop can deliver something that looks right and still leaves you with a corrosion complaint later.
Design for Manufacturability Rules for Stainless Prototypes and Short Runs
The fastest way to burn budget on stainless is to design a part that looks easy in CAD but fights the brake, the welder, and the inspection bench. Prototypes are where those mistakes surface first, because short runs don't have the process maturity to absorb a sloppy design.
Geometry needs room for the process
Keep bends realistic. The visual checklist in the fabrication brief recommends a minimum bend radius of 1x material thickness, with 1.5x to 2x giving better results for many parts. That isn't about being conservative for its own sake, it's about avoiding springback fights and cracked or distorted edges. Hole placement matters too, and the design rule given is to keep holes at least 2x material thickness from edges so the sheet doesn't deform unpredictably around the feature.
Uniform wall thickness helps. Mixed thicknesses encourage uneven heating and uneven movement, especially around welded joints. If a part must transition, make the transition intentional and inspectable rather than accidental.
Make welding and assembly easier than they look on screen
Joint design should leave room for TIG access and post-weld cleanup. Single-V weld joints are usually easier to access than double-V joints and tend to reduce unnecessary heat input when the geometry allows it. If the weld gun can't reach without awkward repositioning, the setup time and the chance of rework go up together.
DFM checkpoint: ask whether each critical feature still works after bending, welding, and finishing, not just before them.
The practical design review before you send files out is short and ruthless:
- Bend locations: confirm the flange has enough leg length for tooling and springback compensation.
- Holes and slots: keep them away from bend lines and edges where distortion can pull them out of tolerance.
- Weld access: make sure the torch, filler, and cleanup tools can physically reach the joint.
- Tolerance stack: relax flatness and angle callouts where the function doesn't need tight control.
- Finish note: specify cleanup and passivation if corrosion performance matters after fabrication.
Over-tolerancing is one of the most expensive habits in stainless work. Tight flatness on a welded assembly sounds disciplined, but if the function doesn't require it, you'll pay for fixturing, rework, and inspection without getting a better part.
Inspection, Quality Systems, and Cost Trade-Offs
A stainless part doesn't ship because it “looks fine.” It ships because the dimensions are right, the surface state is controlled, and the documentation proves the right material and process were used. The inspection package should match the risk of the application, not the ego of the drawing.
Quality control practices are most useful when they tie measurement to decision-making, not when they turn into paperwork for its own sake.
Match inspection to the part's job
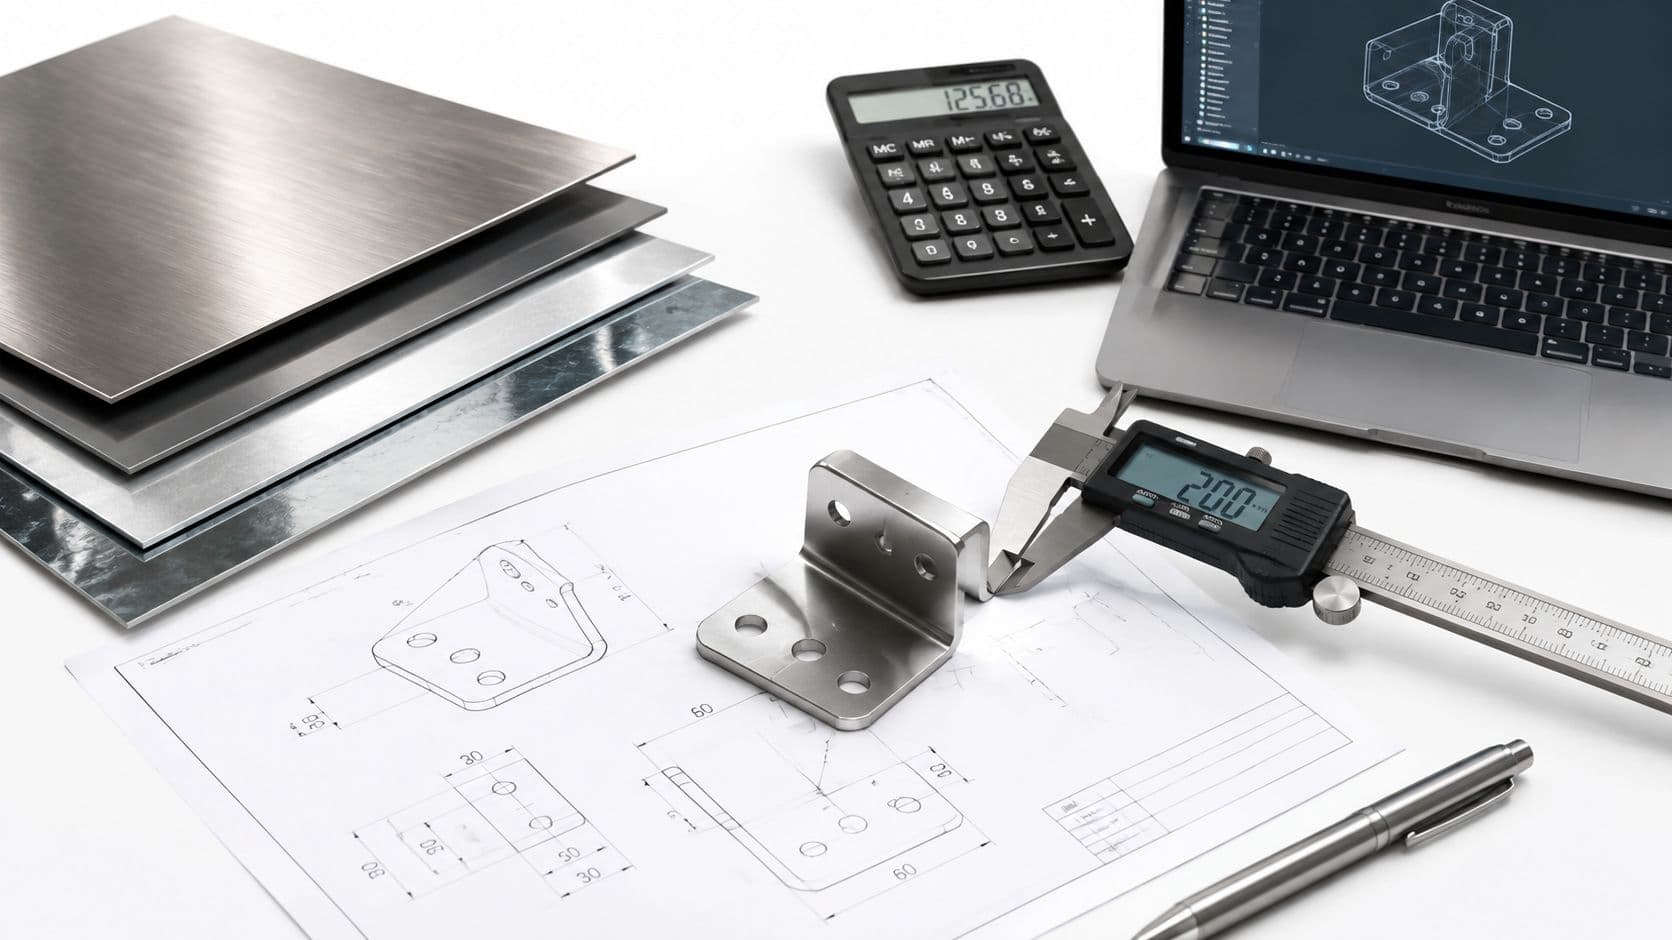
For simple consumer hardware, a caliper, go/no-go gauge, and visual weld check may be enough. For more demanding prototypes, CMM inspection or optical scanning gives better confidence on hole position, bend geometry, and repeatability. Surface profilometry becomes important when finish roughness affects cleaning, seal performance, or appearance. For regulated or corrosive applications, corrosion testing and documented material certification stop being optional.
That inspection depth also drives supplier selection. ISO 9001 tells you the shop has a quality management system, while ISO 13485 and IATF 16949 matter when the application sits in medical or automotive environments. Don't treat those certifications as decoration. They usually indicate the supplier understands traceability, documented process control, and controlled release.
Cost follows uncertainty
The more unknowns you leave in the RFQ, the more the quote inflates to cover risk. A shop will price in extra time for uncertain weld cleanup, aggressive tolerances, special finish work, or repeated setup changes. That's normal, not opportunistic.
For low-volume work, the easiest way to protect budget is to separate what must be controlled from what just needs to be neat. Put tight tolerances only on functional datums, then let noncritical features breathe. That keeps the part buildable without turning every measurement into a bottleneck.
One practical option for teams that want machining, sheet metal, finishing, and inspection under one roof is LC Proto, which offers CNC machining and sheet metal fabrication alongside surface finishing and dimensional inspection. That kind of scope reduces handoff errors when the prototype needs more than one process.
Recommended Workflow for Sourcing Stainless Fabrication
Start with a clean RFQ. Include the alloy, thickness, finish callout, critical tolerances, weld requirements, and any post-fabrication passivation or corrosion expectations. If the drawing doesn't say how you want the part cleaned and protected, the supplier will guess, and guessing is expensive in stainless.
Then ask for a DFM review before you release the run. The best shops will point out bend access issues, weld reach problems, and tolerance conflicts before material gets cut. Once the first article comes back, inspect geometry and surface condition together, because a part can meet dimension and still fail on finish integrity.
For short runs, keep one owner responsible for the full loop from CAD review through first-article signoff. That's usually where the handoff errors disappear fastest.
If you're preparing a stainless prototype or a short production run, send your CAD files, material callouts, and finish requirements to LC Proto. Their CNC machining, sheet metal fabrication, surface finishing, and inspection workflow can help you validate stainless parts before you commit to production.