Injection Molding Cost: A Practical Breakdown for Engineers
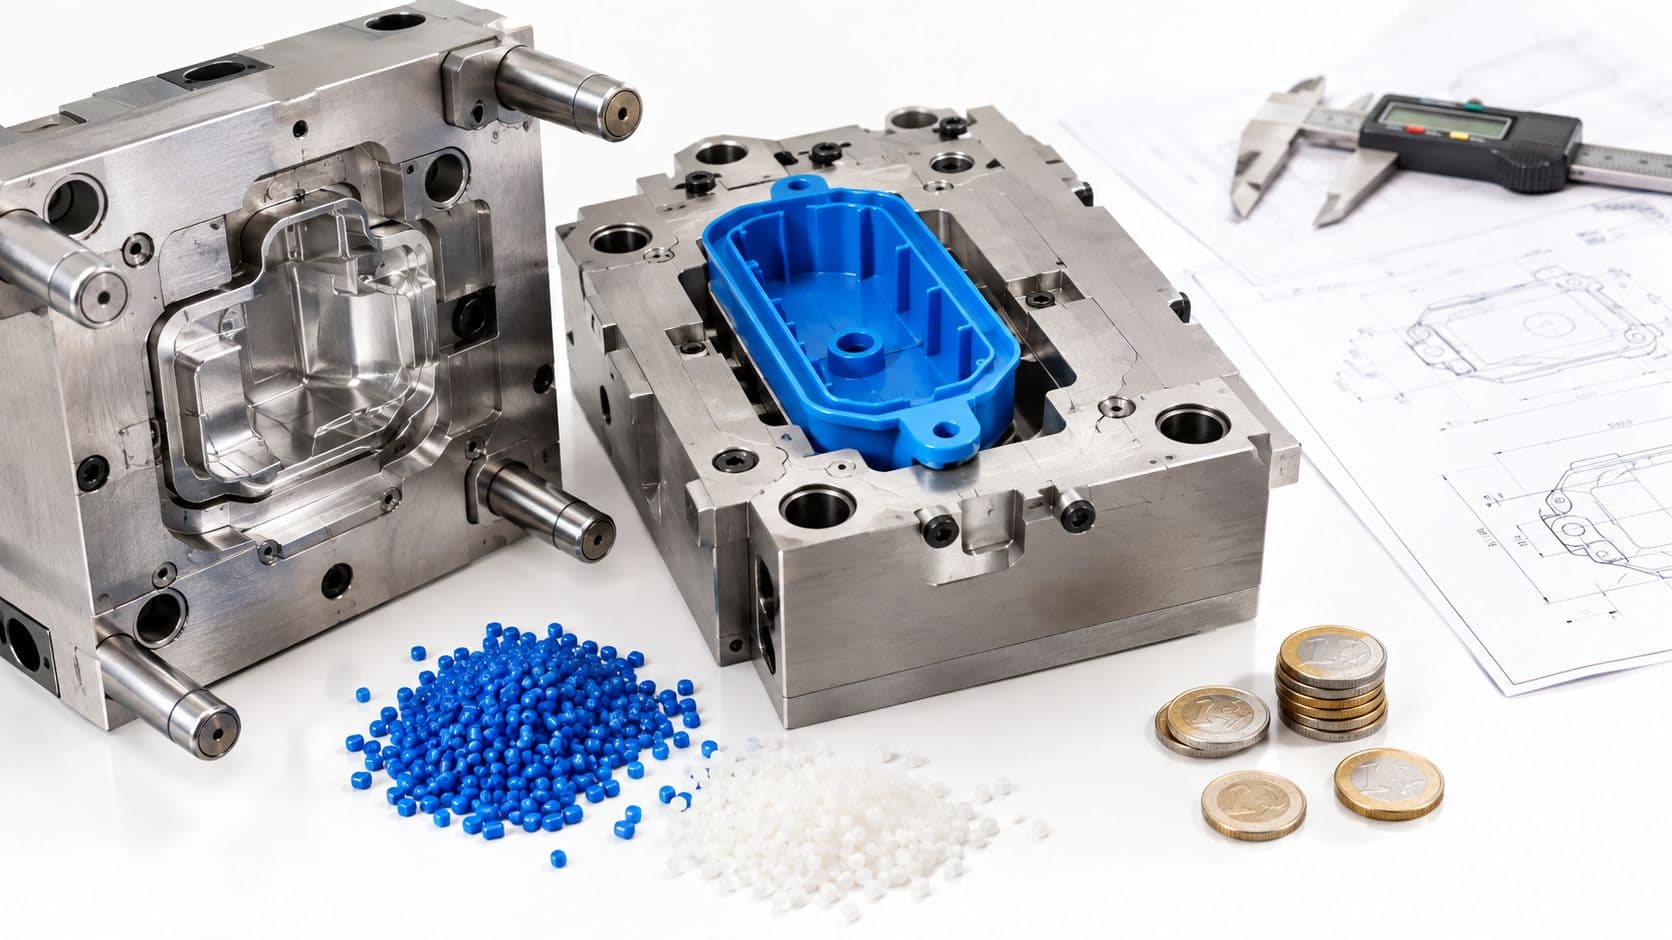
Prototype tooling typically runs $1,500 to $8,000, while high-volume molding can bring per-part pricing down to $0.05 to $0.80. That means the same part may be affordable at 50,000 units and uneconomic at 500.
You may be in that exact position now. The CAD model is finished, the resin is selected, and someone has asked for an injection molding quote before the launch volume is fully certain. One supplier returns a tooling number that seems manageable. Another comes back with a quote that is many times higher, even though both reviewed the same geometry.
The difference usually isn't a mistake. Injection molding cost is a volume-tier problem, not a single per-part price. Tooling, machine time, resin, scrap, inspection, finishing, packaging, and assembly all land differently across prototype, bridge, and production runs. A sound decision compares the total landed cost at each tier, then chooses the process that fits the program's actual risk.
Table of Contents
Tooling Cost From Prototype to Production Steel- Amortization changes the answer
How Per-Part Cost Is Calculated- Start with the fixed cost
Cycle Time, Secondary Operations, and Material Choice
Low-Volume and Bridge Production Options- Match the process to the build
Design for Manufacturing Tips to Cut Cost- Reduce tool complexity first
Planning Your Injection Molding Budget- Questions to answer before requesting a quote
What Actually Drives Every Injection Molding Quote
Consider a common scenario: an engineer expects a mold quote near $2,000 and receives a proposal for $28,000. The gap does not automatically indicate an error. It usually reflects different assumptions about tool construction, expected volume, and the work included after molding.

Three variables explain most quote differences
Tooling amortization sets the first major cost. A mold is a fixed investment, so its effect on each part depends on the program volume. Prototype aluminum molds commonly cost $1,500 to $8,000, while production steel tooling typically starts around $8,000 and can exceed $150,000. Cavity count, complexity, and mold class influence both cost and lead time. (Jaycon's injection molding pricing guidance)
Per-part conversion cost covers the press, labor, and time needed to turn resin into finished parts. Suppliers calculate it from factors such as machine rate, cycle time, and parts per cycle. A single-cavity mold and a four-cavity mold can run at the same speed, yet produce very different economics per part.
Secondary operations complete the landed-cost picture. Trimming, insert installation, overmolding, printing, welding, inspection, packaging, and freight may sit outside the base molding price. A low press rate offers little value when finishing or assembly still requires substantial manual labor.
Practical rule: Compare tooling amortization, conversion cost, and post-molding work in one landed-cost model. Do not approve a program from the piece price alone.
Use this working equation:
Total landed cost = tooling + molded parts + scrap + secondary operations + inspection + packaging + logistics
The best process can change by volume tier. For prototypes, CNC machining or vacuum casting may avoid a mold investment and reach usable parts faster. During bridge production, aluminum or soft tooling can limit upfront exposure while demand is tested. At production volume, injection molding often beats 3D printing, CNC, and vacuum casting because the fixed mold cost spreads across more parts and cycle labor stays low. It still may not win when quantities remain small, design changes are frequent, or secondary work dominates the quote.
Tooling Cost From Prototype to Production Steel
Tool selection should match the program's volume tier, design risk, and expected revision cycle. Prototype aluminum tooling can confirm fit and function without committing to a production-grade mold. Production steel supports sustained output, but its higher investment makes late design changes expensive.
| Tier | Typical material | Cost position | Typical lead time | Practical shot-life guidance |
|---|---|---|---|---|
| Prototype | Aluminum or soft tooling | Lower upfront investment | 2 to 4 weeks | Suited to samples and early validation |
| Bridge | Aluminum or pre-hardened steel | Mid-range investment | 2 to 6 weeks, driven by cavity count and complexity | Often supports limited runs, so replacement or steel-tool timing can become a program risk |
| Production | Production steel | Highest investment range | 4 to 14 weeks | Built for sustained, high-volume service |
A bridge tool deserves a specific volume forecast. Its shorter usable life may cover launch demand, but it can force a second tool if orders accelerate. That risk matters more than the initial quote when the program has a narrow launch window or uncertain demand. A rapid tooling service can help produce molded samples while the design and forecast are still being validated.
Tool complexity drives cost independently of material. Cavity count increases machining, cooling, balancing, and validation work, although it can lower molded piece cost by producing more parts per cycle. Side pulls, lifters, deep ribs, complex parting lines, tight surface finishes, and hot-runner systems add further expense.
A straight-pull, single-cavity mold can be sensible for an early launch with uncertain volume. A four-cavity family mold requires balanced filling, cooling, ejection, and dimensional behavior across the cavities. That investment pays back only when demand is high enough to use the added output.
Amortization changes the answer
A published benchmark places low-volume molds in the $2,000 to $5,000 range for roughly 1,000 to 5,000 units, while more complex molds for 10,000-plus unit runs can range from $5,000 to $100,000 or more. (Formlabs' injection molding cost benchmark)
The arithmetic is straightforward. A $100,000 mold contributes $1.00 per part across 100,000 parts, but $10.00 per part across 10,000 parts. A low molded piece price does not compensate for tooling that the program cannot amortize.
At the prototype tier, CNC machining, 3D printing, or vacuum casting may produce usable parts without mold investment. Bridge tooling reduces upfront exposure while demand is tested. At production volume, injection molding often beats those processes because the mold cost spreads across more parts and cycle labor remains low. It may still lose when quantities stay small, revisions continue, or secondary work dominates the landed cost.
How Per-Part Cost Is Calculated
A molder's internal estimate usually starts with a simple model:
Per-part cost = (tooling cost ÷ total part volume) + (cycle time in minutes × machine hourly rate ÷ 60) + (material weight × resin price) + scrap + secondary operations

Start with the fixed cost
Divide the mold investment by the number of parts the program expects to produce. The result is the tooling contribution per part. If the forecast changes, this line changes immediately, even if the mold and press settings remain identical.
Add machine conversion
Processing cost is commonly modeled as machine rate × cycle time ÷ parts per cycle. A 45-second cycle on a $75-per-hour press has a conversion contribution of $0.94 per cycle before dividing across cavities and adding other costs. A shorter cycle or more cavities reduces the press contribution per part. (DFMA's injection molding cost model)
The denominator matters. A single-cavity mold pays the full cycle cost for one part, while a multi-cavity mold spreads that same machine time across several parts. That advantage must be weighed against the greater tooling investment and the need to maintain cavity-to-cavity consistency.
Calculate resin and the extras
Material cost uses the actual resin consumed, including runners where applicable, multiplied by the material price. Scrap adds a realistic allowance for startup material, rejected parts, process variation, and handling damage.
Secondary operations then enter the model. Trimming, assembly, inspection, packaging, and special handling can exceed the raw press contribution on parts that require substantial manual work. The final quote also includes factory overhead, engineering support, quality systems, scheduling, and supplier margin, so it won't exactly match the raw equation.
Use the formula as a sanity check, not as a substitute for a supplier's detailed proposal. Ask the molder to separate tooling, piece price, expected cycle, cavity count, scrap assumptions, and post-processing. That breakdown reveals which assumption is responsible when two quotes diverge.
Cycle Time, Secondary Operations, and Material Choice
Cooling frequently controls injection molding cycle time. Industry guidance places it at about 50% to 80% of the total cycle, while CNC Protolabs describes a 30-second cycle with roughly 18 to 24 seconds devoted to cooling. (CNC Protolabs' cycle-time cost guidance)
Wall thickness therefore affects both part performance and landed cost. Thick sections retain heat, lengthen cooling, and reduce hourly output. Uniform walls, appropriate coring, and effective cooling channels can lower recurring machine cost without changing the resin. That matters most at production volume, while a prototype or bridge build may not run long enough to recover a major tooling or design change.
| Variable | Low-impact scenario | High-impact scenario | Per-part cost shift |
|---|---|---|---|
| Cooling | Uniform walls and balanced channels | Thick sections and uneven thermal loads | Higher machine contribution |
| Operations | Automatic degating and simple inspection | Manual inserts, welding, printing, and assembly | Added labor and handling |
| Material | Commodity resin suited to the application | High-performance or abrasive engineering resin | Higher resin and process cost |
A cited CNC Protolabs example estimates that reducing a 30-second cycle to 20 seconds can lower machine cost per part by about 34% at the same press rate. The saving comes from producing more acceptable parts during the same machine time, not from changing material. At low volume, the gain may be modest beside tooling and setup costs. At production volume, it can materially improve molding's landed cost against CNC machining or 3D printing.
Secondary operations need separate quote lines. Insert molding adds loading and handling. Overmolding adds another material and process stage. Pad printing, ultrasonic welding, trimming, and assembly add labor, fixtures, inspection requirements, or quality risk. These steps can make molding less attractive for small builds, even when its press cycle looks inexpensive.
Material selection can shift the estimate sharply. A 2025 MoMaking guide states that high-performance resins such as PEEK and nylon cost about 30% more than basic plastics. The same guide lists PEEK at about $60 to $100 per kilogram and PC at about $3.50 to $5.00 per kilogram. (MoMaking's material and mold-cost guidance)
Resin price is only part of the landed cost. High-viscosity or specialty materials may require different mold design, longer processing windows, tighter drying controls, stricter scrap control, or more attention to tool wear. Choose the lowest-cost resin that meets mechanical, thermal, chemical, appearance, and regulatory requirements. Model those process effects before comparing molding with vacuum casting, CNC, or 3D printing across prototype, bridge, and production tiers.
Low-Volume and Bridge Production Options
Full production steel tooling isn't automatically the right answer for an early build. If the design may change, the demand forecast is uncertain, or certification work is still underway, a lower-commitment process can reduce financial exposure.
The crossover depends on total landed cost, not just piece price. Existing cost guidance notes that tooling can range from about $1,000 for simple prototype molds to $100,000 or more for complex multi-cavity steel tools, while per-part prices may fall to $0.05 to $0.80 at 100,000-plus units. (Jino Plastics' volume and tooling discussion)

Match the process to the build
3D-printed molds can support prototype quantities in silicone or filled nylon, but they aren't a general replacement for a production mold. They make sense when the team needs fast feedback on form, fit, or a limited functional build.
Aluminum tooling occupies the bridge space. It can provide molded parts with the intended resin and production process while leaving less capital at risk than a complex steel tool. It also gives the team an opportunity to validate gating, ejection, cosmetics, and dimensional behavior before committing to a longer-life mold.
Vacuum casting remains useful when the quantity is very small and appearance or material feel matters more than production-grade thermoplastic behavior. It can beat injection molding when avoiding tooling is worth more than the lower eventual piece price.
CNC machining works well for tight-tolerance prototypes, especially when the part geometry is difficult to mold or the team needs metal components. Its economics become less attractive when every unit requires substantial machine time and finishing.
A process choice should account for required quantity, cosmetic class, resin, internal geometry, certification, and design maturity. Medical programs may need documented quality systems such as ISO 13485. Aerospace work may require AS9100-aligned controls. Those requirements can narrow the acceptable supplier and process options regardless of nominal price.
For teams comparing these routes, low-volume injection molding offers a way to assess molded bridge parts without treating production steel as the only credible option. The important decision is where molding's fixed investment becomes lower than the cumulative labor and machine time of printing, machining, or casting.
Design for Manufacturing Tips to Cut Cost
The most effective cost reduction often happens before a moldmaker creates a quotation. A small geometry change can remove a side action, shorten cooling, reduce resin consumption, or simplify inspection. Those savings compound across the entire program.

Reduce tool complexity first
- Keep walls consistent: Aim for wall thickness variation within plus or minus 25% where the design allows. More uniform sections reduce sink, warpage, and uneven cooling.
- Add draft: Use at least 1 degree per side, and increase draft on textured surfaces so the part ejects without dragging or damaging the mold.
- Use generous radii: Rounded transitions improve filling and reduce stress concentration compared with sharp internal corners.
- Control rib thickness: A rib around 40% to 60% of the adjoining wall thickness can add stiffness without creating an obvious sink-prone mass.
These are design targets, not universal laws. A medical enclosure, optical component, or high-temperature bracket may need different values after material and moldflow review. The cost comes from making the mold solve a problem that could have been avoided in the CAD model.
Treat gates and undercuts as economic choices
Edge gates often provide a simpler and less expensive tool arrangement. Hot runners can raise the initial mold cost, but they may reduce runner waste and support shorter cycles when the production volume justifies the investment. Side actions, lifters, and other mechanisms should earn their place through a functional requirement, not cosmetic convenience.
Parting-line placement affects flash visibility, ejection, tooling access, and the amount of manual cleanup. Ejector pins should push the part from structurally sound areas and avoid cosmetic faces where witness marks would create a finishing problem. Text and logos also need review. Text depth above 0.5 millimeter can help reduce print distortion, but the final result depends on font, texture, draft, and gate location.
A practical DFM review should resolve these decisions before steel is ordered. DFM for injection molding can help structure that review around wall sections, draft, parting lines, gates, tolerances, and ejection.
Design review test: If a feature doesn't serve strength, assembly, appearance, or compliance, ask whether it deserves its own mold mechanism.
Finally, choose the least expensive resin that satisfies the specification, and run moldflow analysis before cutting a production tool. Simulation won't replace physical validation, but it can expose filling, weld-line, packing, and cooling risks while changes are still inexpensive.
Planning Your Injection Molding Budget
A useful budget starts with the demand forecast, not the supplier's lowest unit price. Define the expected annual volume, separate prototype, bridge, and production needs, classify the geometry, then select a tooling tier that matches how confident you are in the design.
The model should include:
- Tooling amortization: Divide the expected mold investment by the parts the program will consume.
- Conversion cost: Estimate cycle time, machine rate, cavity count, and expected uptime.
- Material: Use part weight plus runner and scrap assumptions, then price the selected resin.
- Landed additions: Include secondary operations, inspection, packaging, and logistics rather than hiding them inside a vague allowance.
A practical worksheet can look like this:
| Annual volume | Recommended tooling | Tooling cost range | Per-part cost range | Breakeven vs. 3D printing | Top cost risk |
|---|---|---|---|---|---|
| Prototype | Prototype or soft tooling | $1,500 to $8,000 | Supplier quote required | Design changes may favor printing | Revisions before tool recovery |
| Bridge | Aluminum or bridge tooling | $8,000 to $30,000 | Supplier quote required | Compare total landed cost | Demand uncertainty |
| Production | Production steel | $8,000 to over $150,000 | $0.05 to $0.80 at 100,000-plus units | Molding usually gains as volume rises | Underused tooling |
The table uses the documented ranges for prototype and production tooling, plus the high-volume per-part range described in the cited industry guidance. (Jaycon's injection molding pricing report) For a 200-gram ABS bracket at 10,000 units per year, request a quote that separately identifies mold amortization, resin consumption, cycle time, cavity count, scrap, and finishing. Without verified resin pricing and process assumptions, assigning a fabricated piece price would create false precision.
Questions to answer before requesting a quote
- Is the 3D model production-ready? Confirm draft, wall sections, parting line, gates, ejectors, and tolerances.
- Is the material callout complete? Include grade, color, additives, flame rating, and regulatory requirements.
- What appearance is required? Specify texture, gloss, witness-mark limits, and acceptable gate locations.
- What volume is real? Separate prototype quantity, first build, annual demand, and lifetime expectation.
- What records are required? Define inspection reports, material certificates, traceability, and packaging controls.
Common budgeting questions have the same answer: injection molding is cheapest when the tool is used enough to dilute its fixed cost, while printing, machining, or casting can remain preferable when the quantity is small or the design is still moving. Ask for the crossover calculation using your actual geometry and requirements, not a generic per-part claim.
FIRMFG supports injection molding, rapid tooling, CNC machining, 3D printing, vacuum casting, and finishing for prototype, bridge, and low-volume programs. Share your CAD model, material requirement, volume tiers, surface finish, and inspection needs with FIRMFG to request a quote built around total landed cost rather than tooling price alone.